
At Aquadapt, we have over 35 years’ experience of transforming bathrooms into accessible, stylish spaces that enhance independence and quality of life. Installing a wet room on a concrete floor is an increasingly popular choice for homeowners seeking accessible, modern, and space-efficient bathroom solutions. Whether you’re creating an accessible bathing space to enhance independence, or supporting a family member with mobility challenges, understanding the installation process is crucial for achieving a waterproof, functional, and long-lasting wet room.
Jump straight to…
Why Choose a Wet Room on a Concrete Floor?
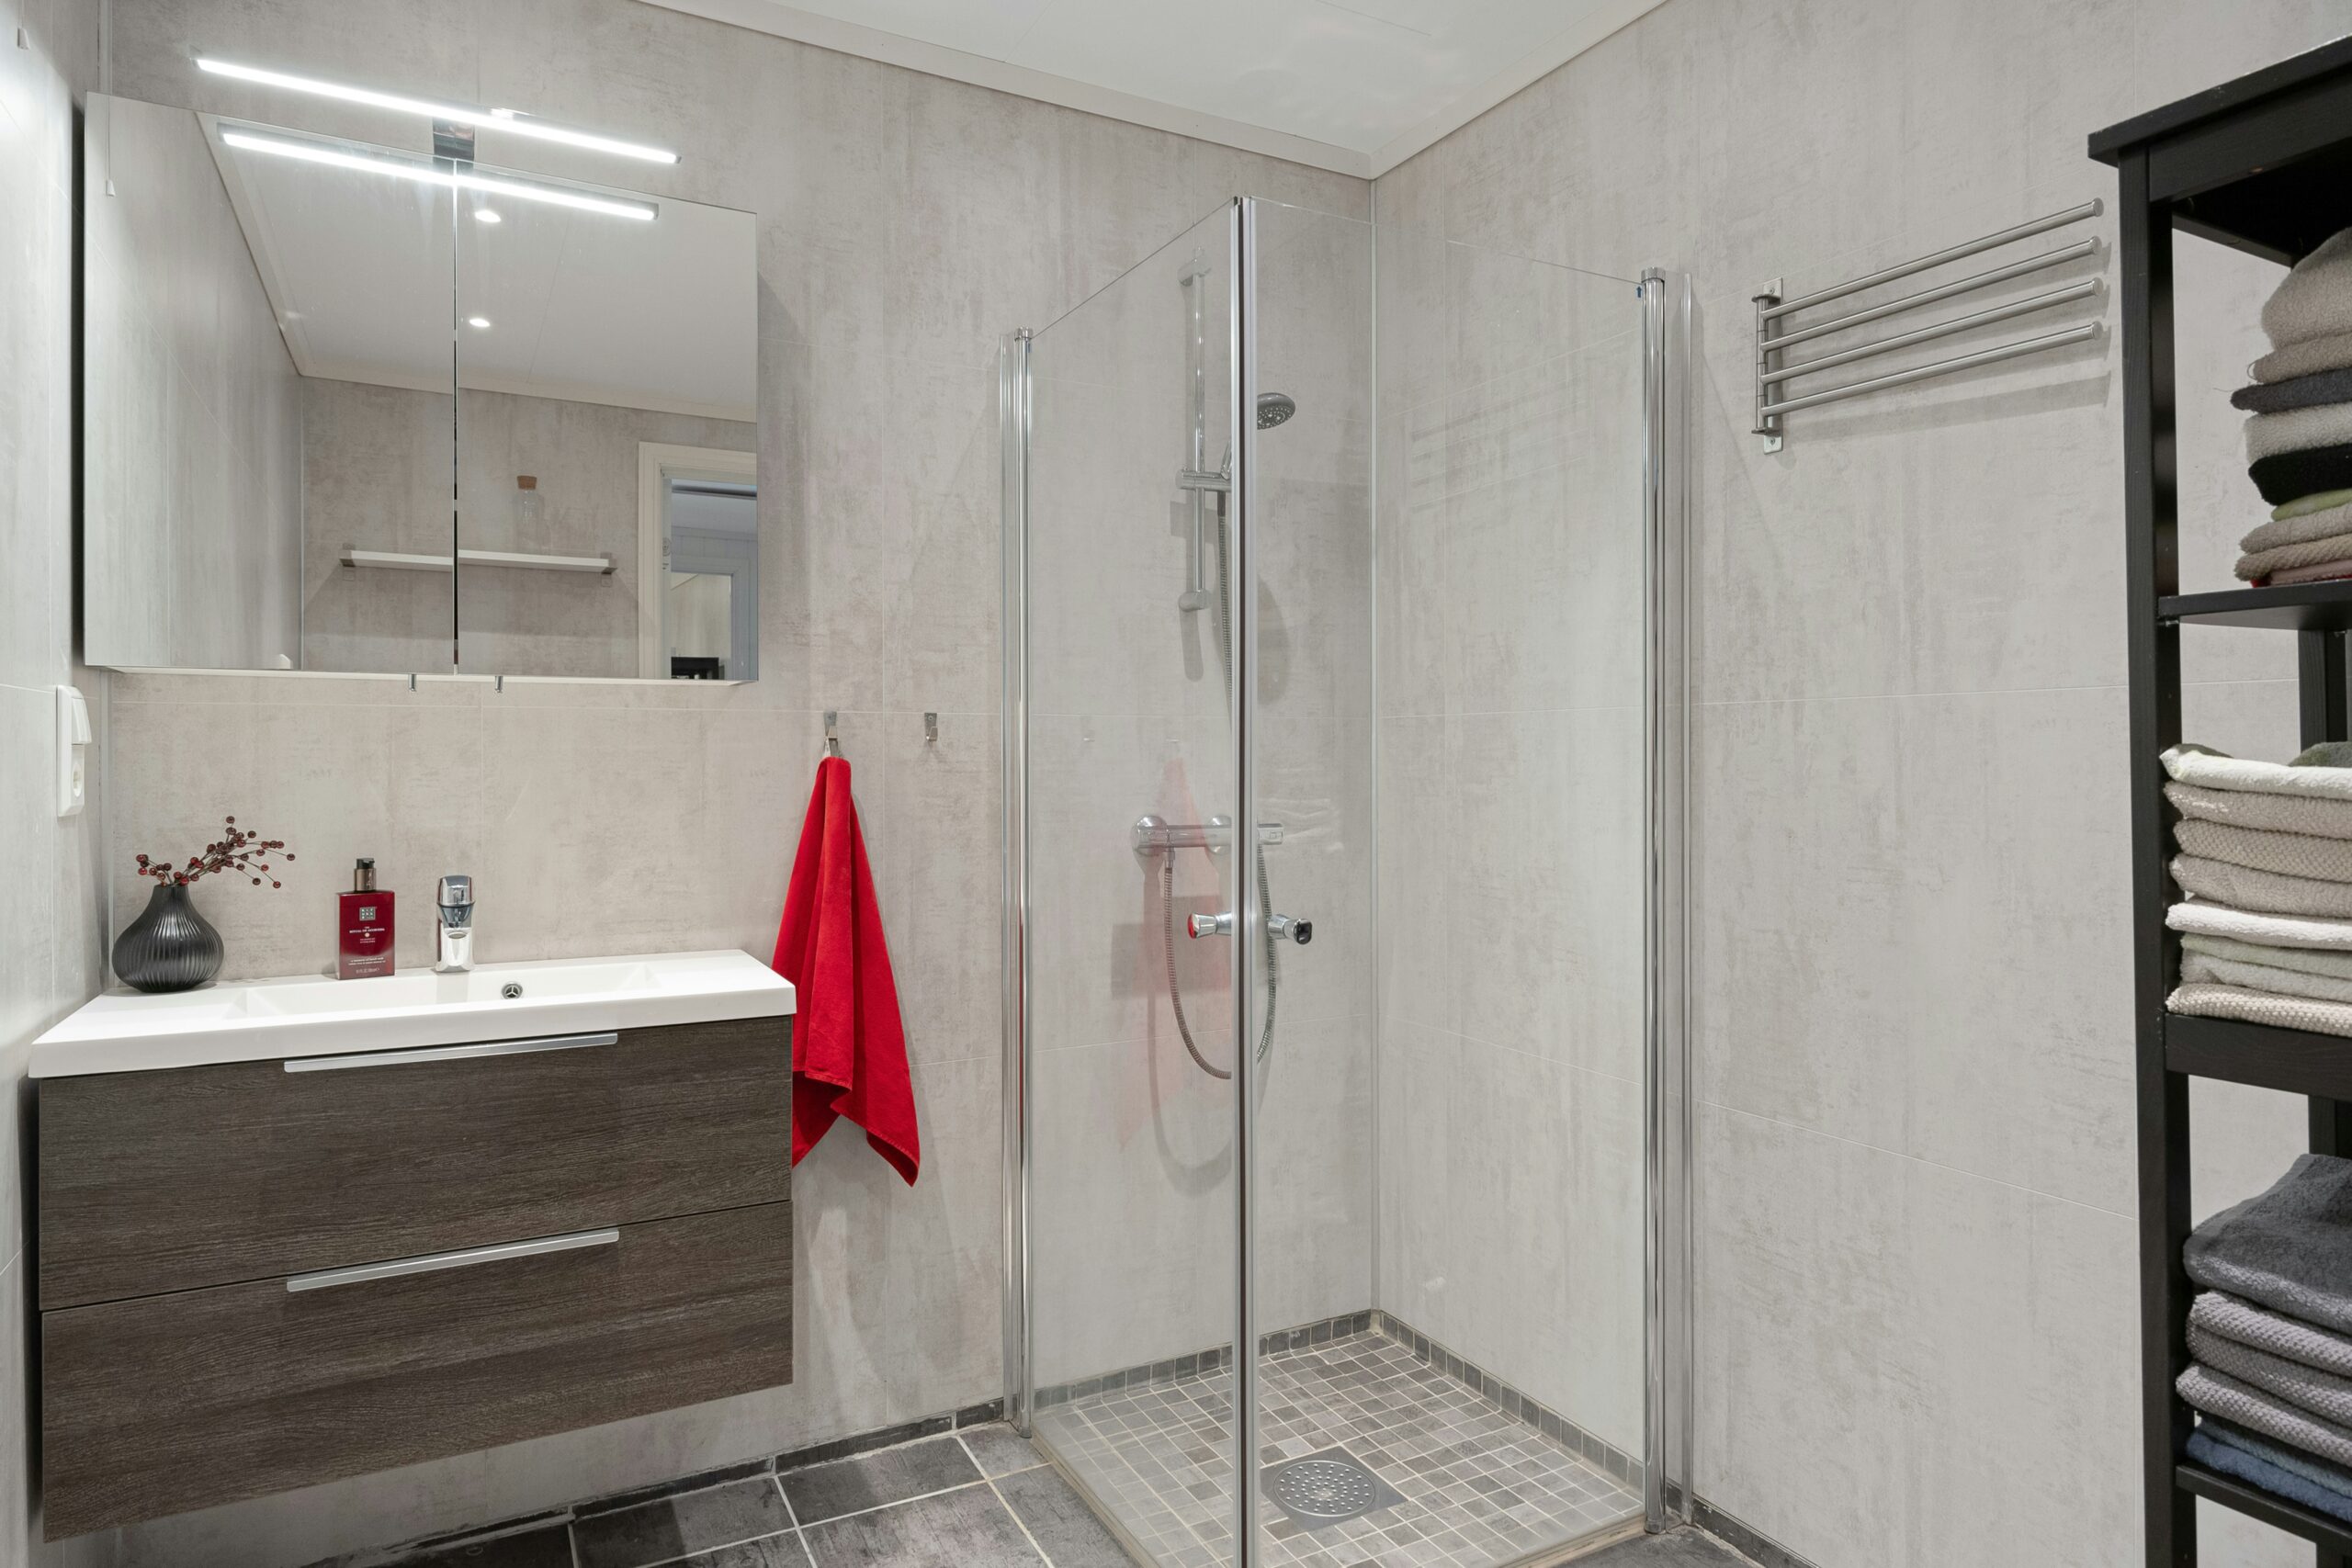
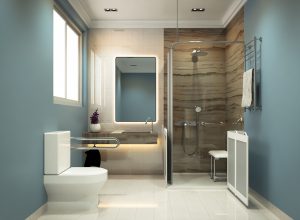
A wet room transforms your bathroom into a fully waterproofed space where the shower area sits level with the rest of the floor, eliminating barriers like shower trays and stepped thresholds. This level-access design is particularly beneficial for wheelchair users, those with mobility challenges, and anyone planning for future accessibility needs.
The advantages of wet rooms on concrete floors include:
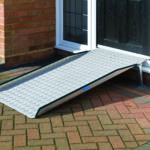
- Complete level access with no steps or thresholds to navigate.
- Enhanced safety reducing fall risks on wet surfaces.
- Maximum accessibility for wheelchair users and caregivers.
- Space optimisation making even compact bathrooms feel open and spacious.
- Modern aesthetic creating a contemporary, spa-like atmosphere.
- Easy maintenance with fewer barriers and sealed surfaces to clean.
- Structural stability from the excellent load-bearing capacity of concrete floors.
Concrete floors provide an ideal foundation for wet room installation, offering the structural stability needed to support waterproofing systems and drainage requirements. Concrete minimises movement and provides a solid base for creating the precise gradients essential for proper water drainage.
Planning and Preparation
Understanding Your Needs
Before beginning any installation, it’s important to consider who will be using the wet room and how their needs might change over time. Will the space need to accommodate independent users with good mobility who simply want barrier-free access, or wheelchair users requiring adequate circulation space and accessible controls? Perhaps the wet room needs to facilitate assisted bathing where caregivers need room to provide support safely or accommodate progressive conditions where mobility may decrease over time. These considerations will influence everything from room size and layout to fixture placement and safety features.
Structural Assessment and Building Regulations
Every wet room installation must begin with a thorough structural assessment of your concrete floor. This involves:
Floor condition evaluation to ensure the concrete is stable, free from movement, and has adequate load-bearing capacity. Any cracks, contamination, or surface defects must be addressed before installation can begin.
Building regulations compliance is essential. Wet room installations must meet UK Building Regulations, particularly:
- Part H covering drainage systems with adequate capacity for expected water flow.
- Part F requiring proper ventilation to manage moisture and humidity.
- Electrical installations complying with BS 7671-bathroom safety zones.
- Waterproofing meeting current British Standards.
Drainage considerations are often the most challenging aspect. The most efficient approach is directing waste pipes toward an outside wall to avoid disrupting other floors, but professional assessment can determine the best route for your specific property.
Step-by-Step Installation Process
Step 1: Floor Preparation and Drainage Installation
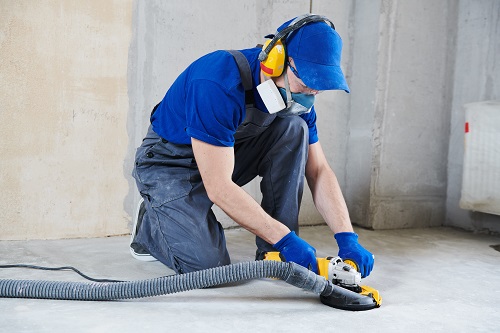
Surface preparation begins with thoroughly cleaning the concrete, removing any dust, grease, or cement residue. For optimal bonding of waterproofing materials, the surface may need mechanical grinding to ensure proper adhesion.
Drainage system installation typically requires cutting into the concrete floor to accommodate the drain unit and waste pipe. This is where professional expertise becomes invaluable. The drain must be positioned correctly and installed level, as adjustments after completion are extremely difficult.
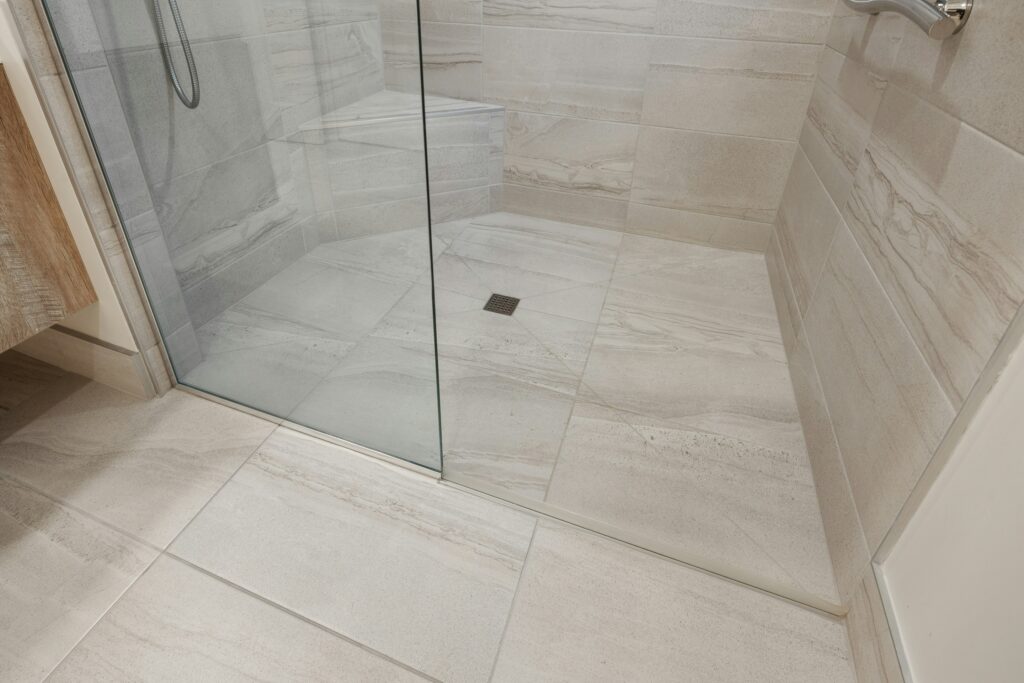
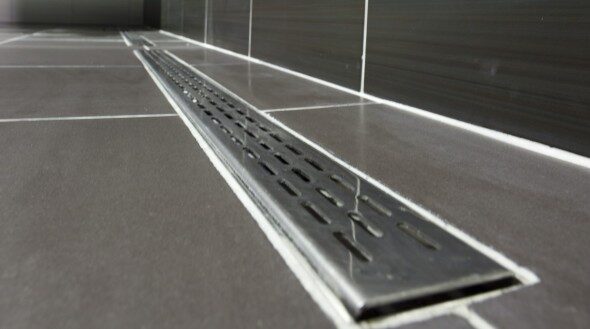
The drain placement determines how your floor will slope. Linear drains along one wall create a single-direction slope that’s often easier to achieve and tile, while point drains in the centre require a four-way slope but can effectively catch water from all directions.
Step 2: Creating the Essential Floor Gradient
Wet rooms require a gradient of approximately 10-12mm fall over 1 metre to ensure effective water drainage. This can be achieved through two primary methods:
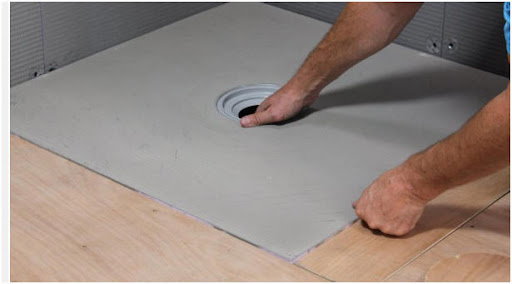
Wet room floor formers are pre-manufactured shower bases with built-in gradients. These systems, typically 22mm thick, are made from strong glass-reinforced plastic (GRP) and can be set flush with the concrete floor. The advantage is that the slope is perfectly calculated, removing guesswork, and ensuring consistent water flow toward the drain.
Manual screeding involves applying a layer of cement screed to create the slope. While this method offers flexibility in shaping the shower area, it requires considerable skill to achieve the correct gradient without low spots where water might pool.
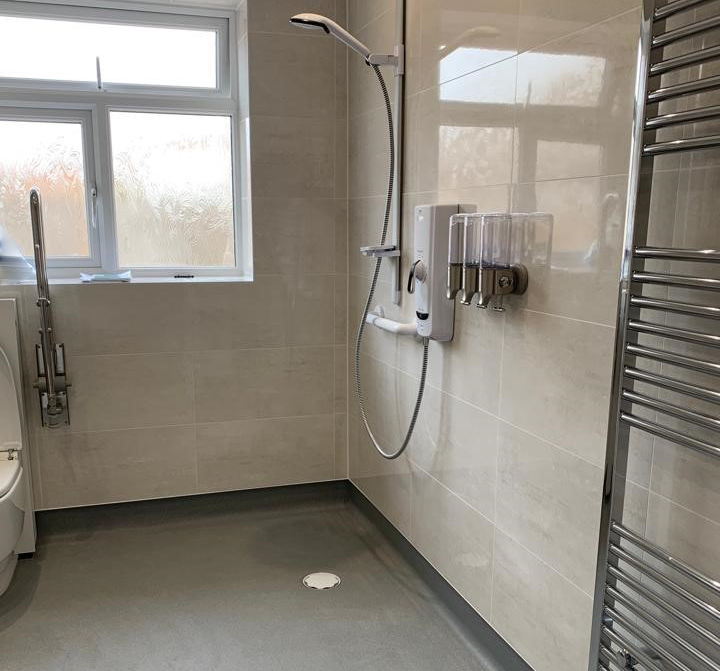
The result should be a floor that’s completely level at the bathroom entrance and around the room’s perimeter, then slopes gently but steadily to the drain—creating truly level-access conditions while ensuring efficient drainage.
Step 3: Waterproofing (Tanking) – The Critical Phase
Waterproofing is arguably the most important aspect of wet room installation. Even though concrete is solid, it’s naturally porous and can absorb water over time, potentially causing structural damage or damp issues throughout your home.
Surface preparation starts with ensuring everything is clean and dry. A primer should be applied if recommended by your waterproofing system, as this helps the membrane adhere properly to concrete surfaces.
Membrane installation creates a continuous waterproof barrier across the entire shower area. Modern systems typically use either liquid membranes or sheet membranes. Liquid membranes are rubberised compounds that are brushed or rolled on in layers, drying to form a seamless, flexible barrier. Sheet membranes consist of flexible waterproof sheets adhered to surfaces with overlapping seams sealed with waterproof tape.
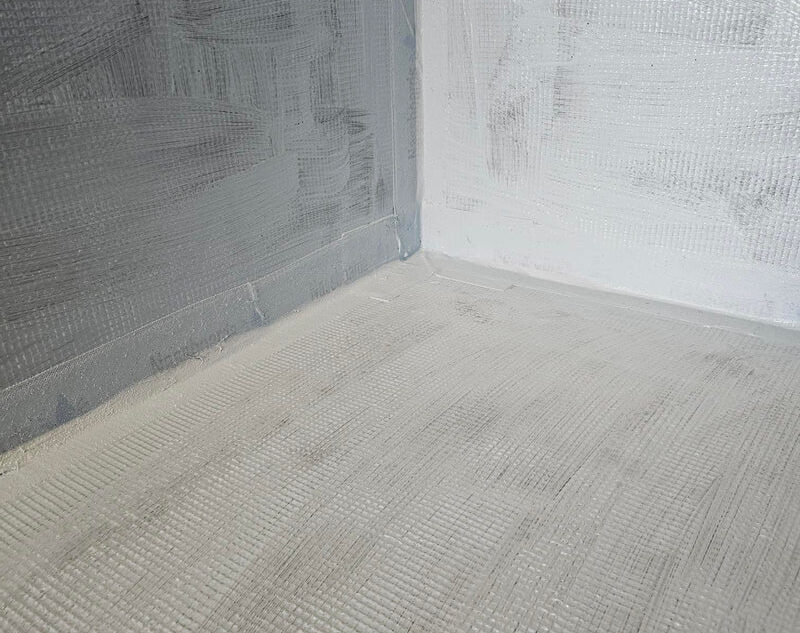
The waterproofing must extend up the walls to at least 150mm from the floor, or higher in shower areas (often 1.2-1.5 metres). Particular attention must be paid to sealing around the drain outlet and any pipe penetrations.
Quality assurance involves thorough inspection for gaps or pinholes, and many professionals conduct water tests to verify complete waterproof integrity before proceeding.
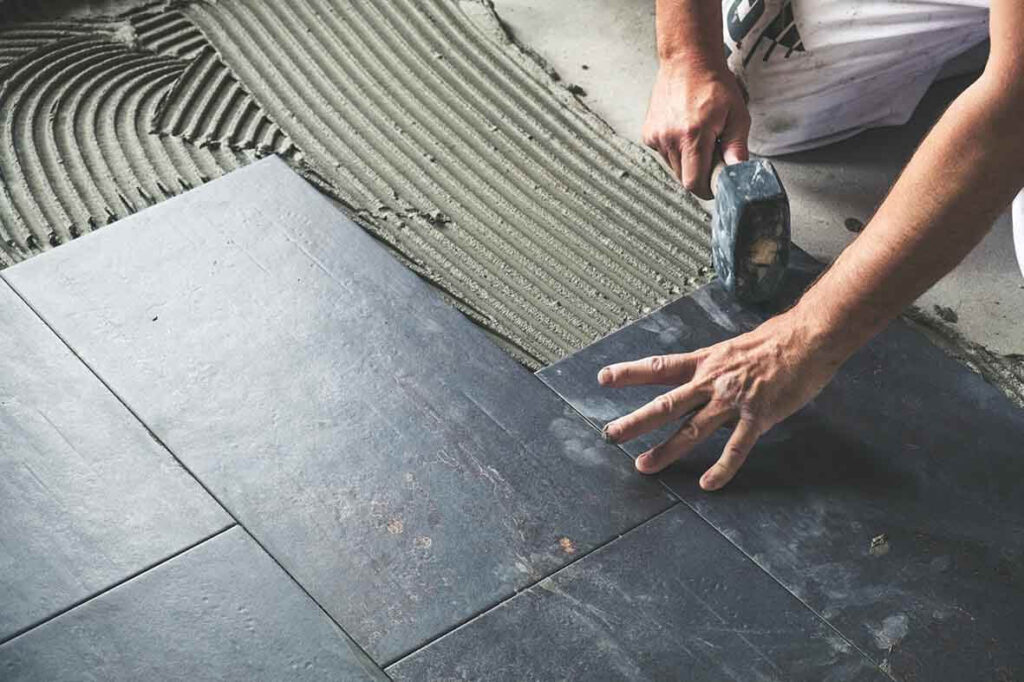
Step 4: Floor Surface Installation
Once waterproofing is complete, you can install the visible floor surface. The choice typically lies between tiles and specialist vinyl flooring:
Tiled floors offer durability and design flexibility. Porcelain and natural stone are popular choices for their longevity and aesthetic appeal. Key considerations include:
- Using flexible, waterproof tile adhesive suitable for wet environments.
- Selecting textured or matte finishes for slip resistance.
- Grouting with waterproof, flexible grout to prevent cracking.
- The possibility of incorporating underfloor heating for comfort and faster drying
Vinyl flooring provides a seamless, completely waterproof surface with no grout lines. Modern safety vinyl offers:
- Heat-welded seams creating one continuous membrane.
- Naturally slip-resistant properties.
- Easy maintenance with no grout to clean.
- Softer surface that’s more comfortable underfoot.
- Wide variety of attractive designs and textures.
Both options work excellently on concrete floors when installed with appropriate adhesives and proper edge sealing.
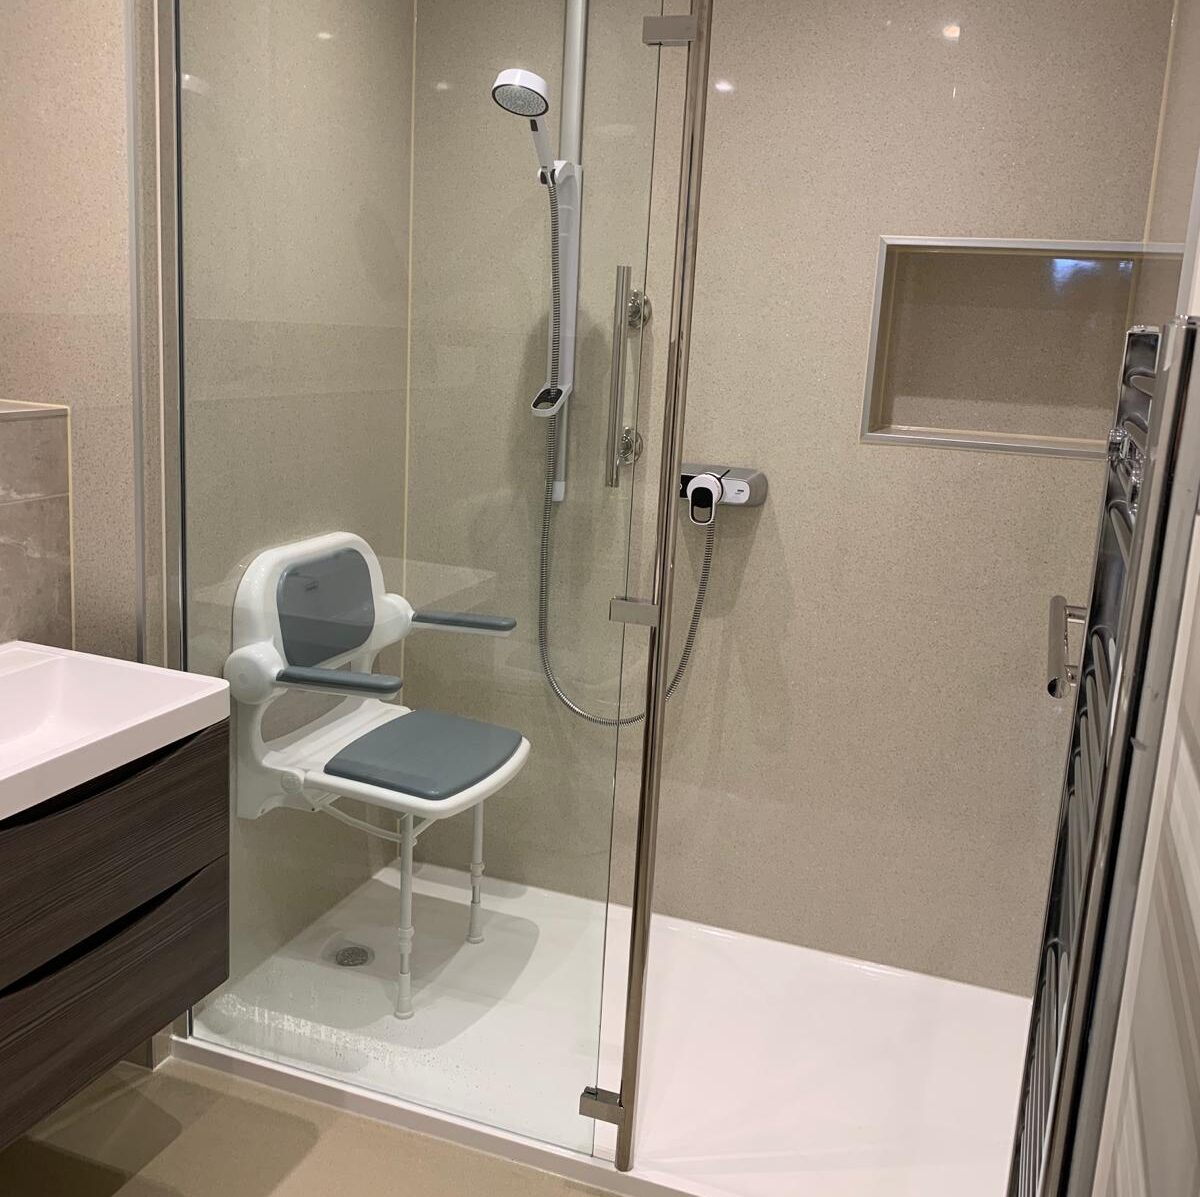
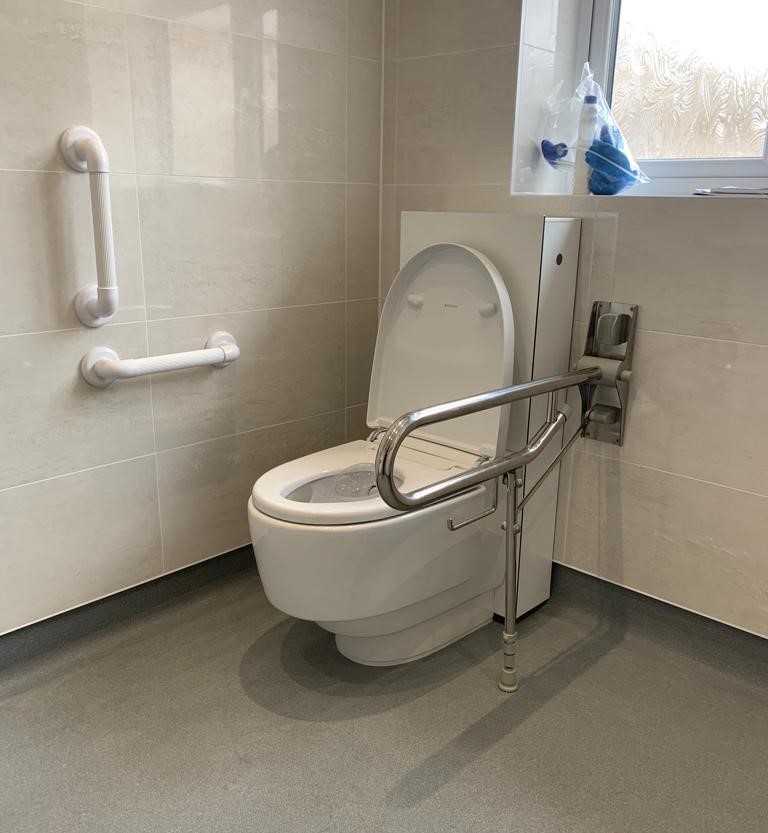
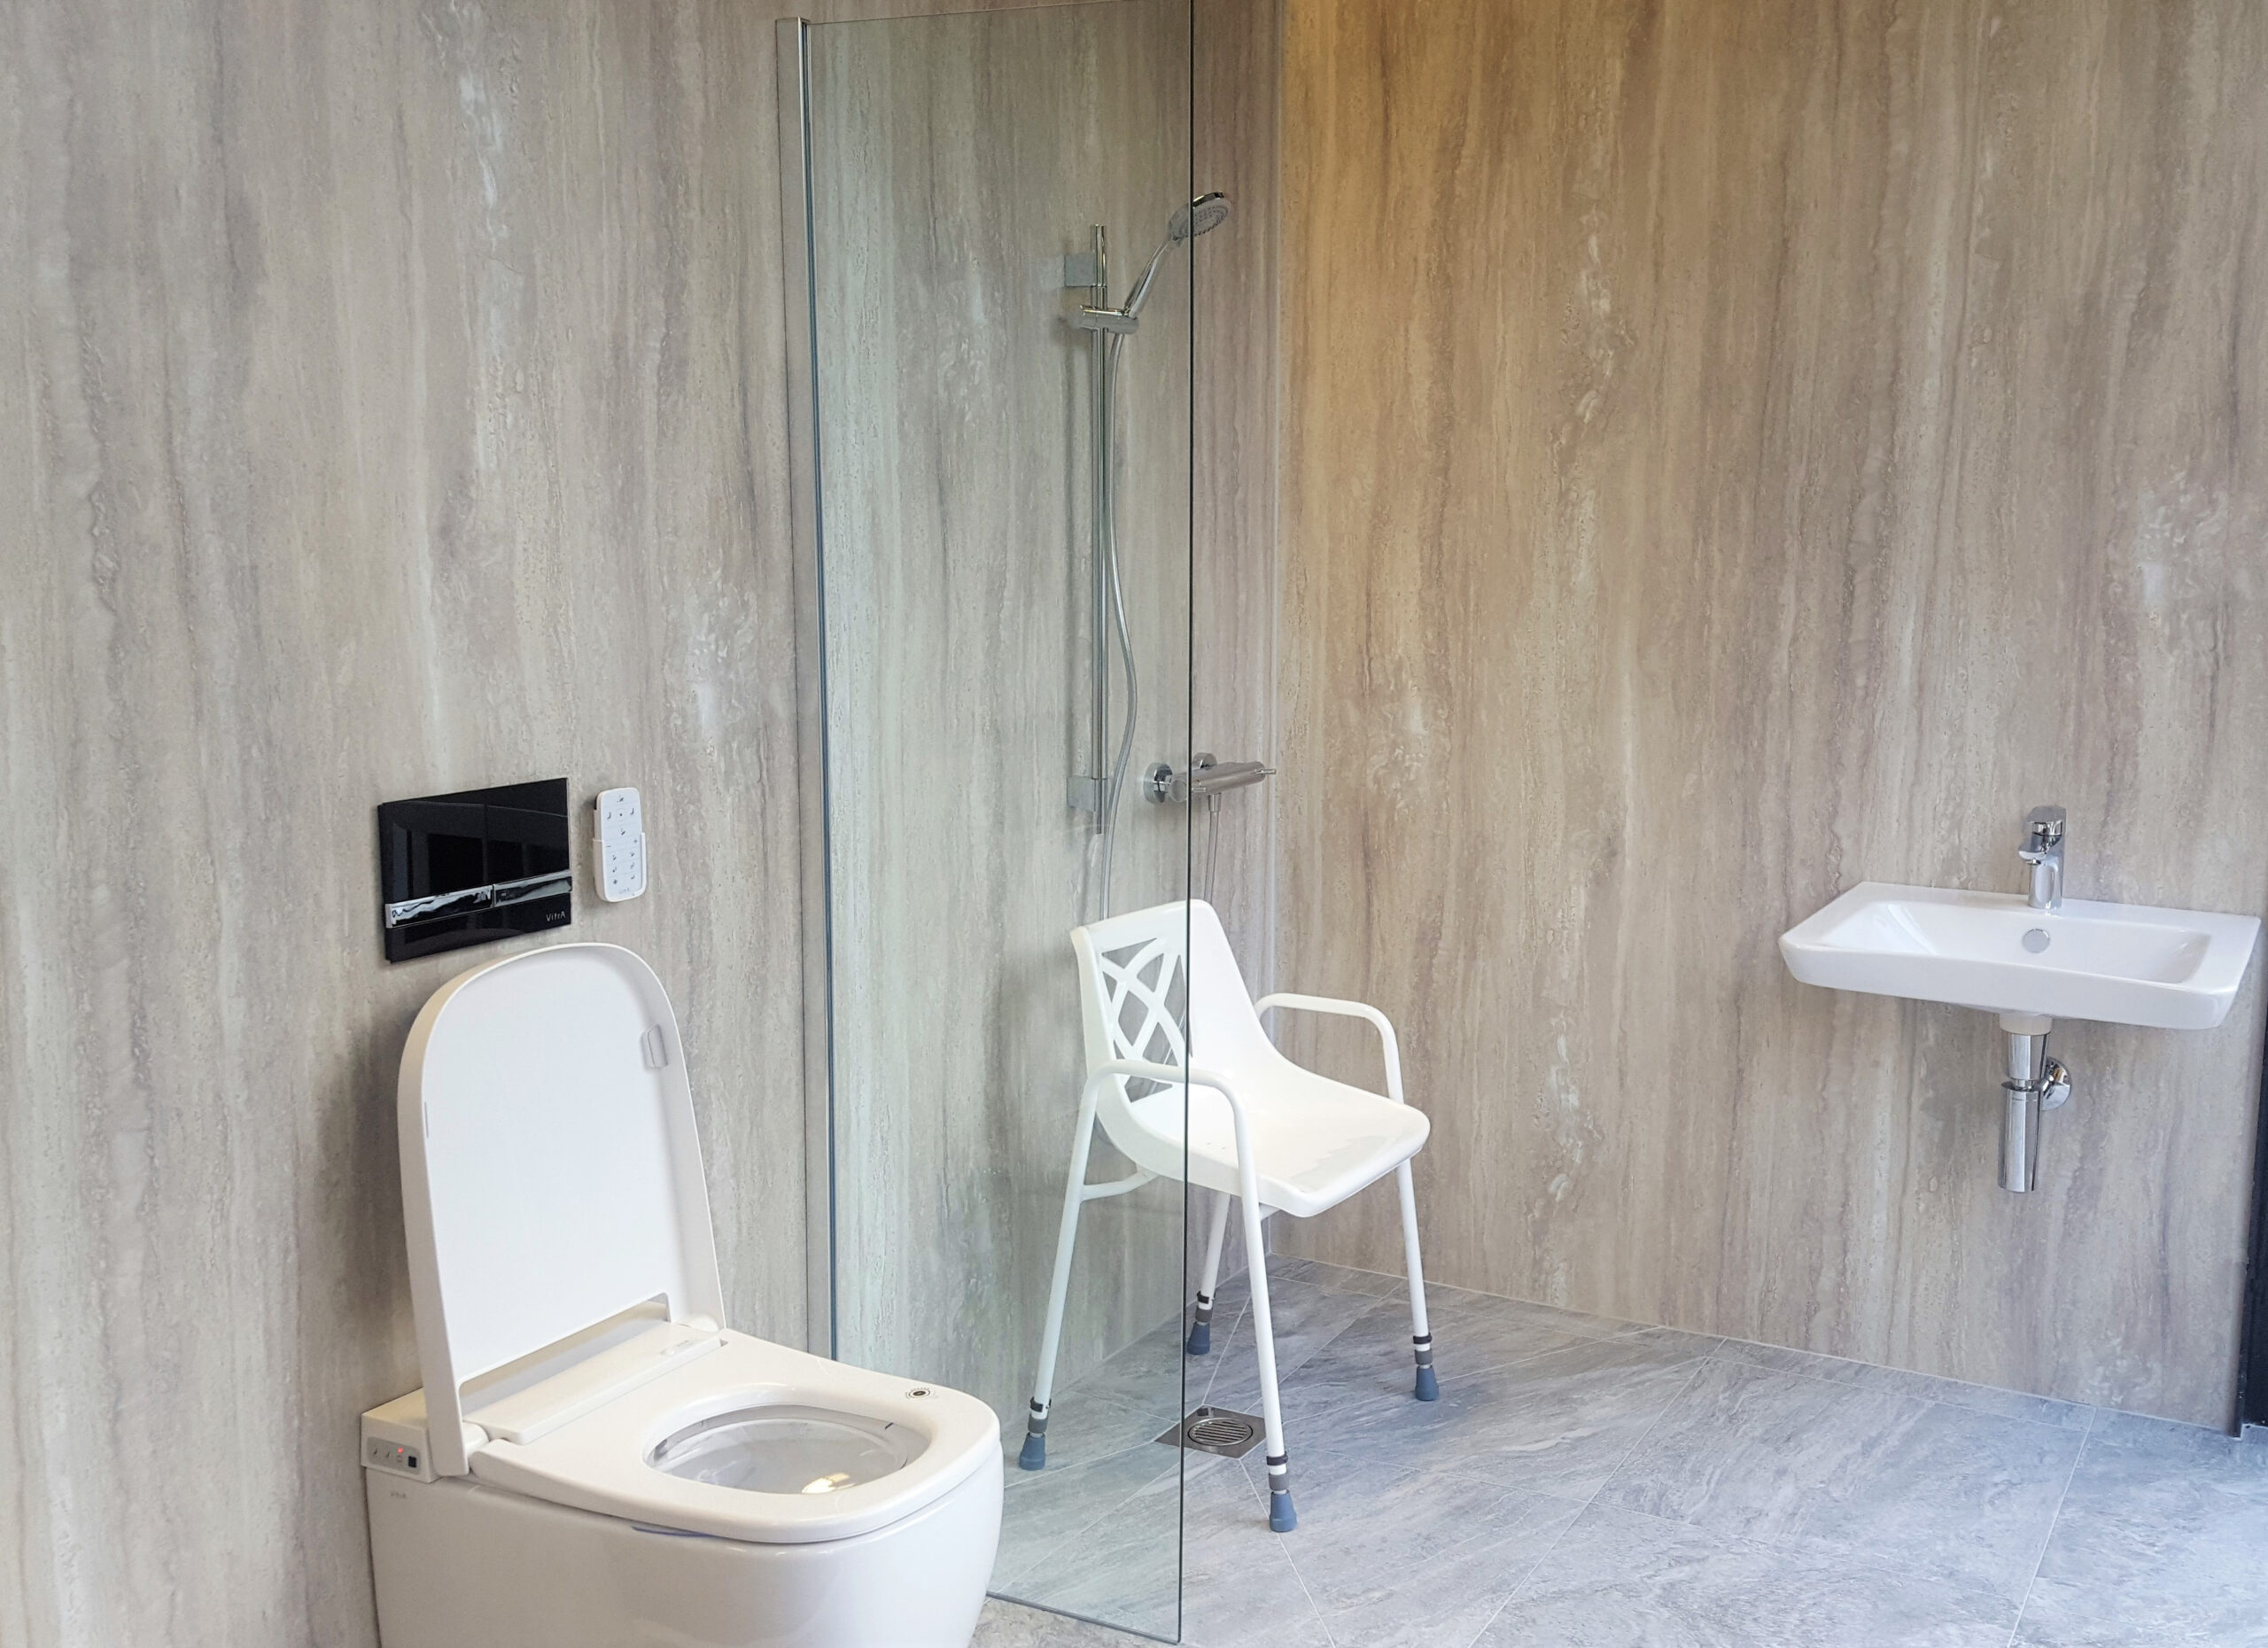
Safety Features and Accessibility Enhancements
A well-designed wet room goes beyond basic installation to incorporate features that enhance safety and independence. Grab rails should be securely anchored at key locations-near shower controls, by the entrance, and alongside any seating areas-as these provide crucial support for standing and movement on wet surfaces. Shower seating through fold-down or fixed seats enables comfortable showering for those who cannot stand for extended periods, with seats positioned where users can comfortably reach all shower functions. Thermostatic controls regulate water temperature to prevent sudden temperature changes that could cause scalding or shock, which is particularly important for users with slower reaction times or reduced sensitivity. Good lighting and ventilation ensure the space is well-lit for safe navigation and properly ventilated to prevent moisture buildup and mould growth.
Professional Installation vs DIY
While some aspects might seem manageable for skilled DIY enthusiasts, wet room installation involves multiple specialised trades – plumbing, waterproofing, tiling, and building regulations compliance. A single oversight in any area can lead to expensive water damage or an unsafe installation.
Professional installation offers comprehensive expertise across all required trades, building regulations compliance assurance, and quality guarantees typically covering 10+ years. You’ll also benefit from minimal disruption to your daily routine and peace of mind through proper insurance and certification. At Aquadapt, we provide a complete design-to-completion service, working closely with healthcare professionals when needed to ensure your wet room perfectly matches your specific accessibility requirements.
Cost Considerations and Investment Value
Professional wet room installation typically ranges from £4,000 to £7,000, with costs influenced by:
- Room size and complexity of the existing layout.
- Quality of materials chosen for durability and aesthetics.
- Drainage modifications required for your specific property.
- Additional features like underfloor heating or premium fixtures.
- Building work needed for structural modifications.
While this represents a significant investment, a properly installed wet room adds considerable value to your property while dramatically improving daily quality of life for users with accessibility needs.
Maintenance for Longevity
Properly installed wet rooms on concrete floors can serve reliably for decades with appropriate care. Daily maintenance involves wiping surfaces after use and ensuring adequate ventilation to prevent moisture buildup, while weekly cleaning with appropriate pH-neutral cleaners maintains appearance and hygiene while protecting materials. Monthly attention to drain clearance prevents blockages from hair and soap residue, and annual inspections of seals, waterproofing integrity, and any fixtures help identify potential issues before they become problems.
Ready to Transform Your Bathroom?
Installing a wet room on a concrete floor is a complex but rewarding project that can transform your bathroom into a modern, accessible, and functional space that will serve your needs for decades to come. While the process requires careful planning and expert execution, the result is a durable, low-maintenance bathing area that significantly enhances independence and quality of life.
At Aquadapt, we understand that every home and every individual has unique needs. Our experienced team works closely with clients and healthcare professionals to design and install wet rooms that perfectly balance safety, functionality, and style, all while ensuring complete building regulations compliance.
Contact us today for a free, no-obligation site survey. We’ll assess your space, discuss your specific needs, and provide clear options and transparent pricing to help you make the best decision for your home and circumstances.
Frequently Asked Questions
Q: Can any concrete floor be converted to a wet room?
A: Most concrete floors can accommodate wet room installation, provided they have adequate structural integrity and drainage access can be established. Ground floor installations are typically easier as they allow direct access to external drainage, while upper floors may require more complex pipe work or pumped waste systems. A professional structural assessment will determine the best approach for your specific situation.
Q: Do I need planning permission for a wet room?
A: Generally, wet room installations don’t require planning permission as they’re considered internal alterations. However, you will likely need Building Control notification for drainage modifications, electrical work, and structural changes. We handle all necessary approvals and ensure full Building Regulations compliance as part of our comprehensive service.
Q: How long does professional installation take?
A: Most wet room installations are completed within 4-7 days, depending on complexity and any additional features. This includes all preparation, waterproofing, surface installation, and finishing work. We work efficiently to minimise disruption to your daily routine.
Q: What’s better—tiles or vinyl flooring?
A: Both options work excellently on concrete floors. Tiles offer superior durability, design flexibility, and the option for underfloor heating, but require grout line maintenance and present a harder surface. Vinyl provides seamless waterproofing, easier maintenance, slip resistance, and a softer feel underfoot, though it may need replacement sooner than tiles. We help you choose based on your specific needs, preferences, and budget.
Q: Can underfloor heating be installed with a wet room?
A: Yes, both electric and water-based underfloor heating systems work excellently with wet room installations on concrete floors. Electric systems are often easier to retrofit, while water-based systems may be more cost-effective for larger installations. Heating helps floors dry quickly and adds comfort, particularly appreciated during colder months.
Q: What drainage options work best for concrete floors?
A: Concrete floors can accommodate various drainage systems including linear drains, point drains, and corner drains. Linear drains are popular for their contemporary appearance and single-slope requirement, while point drains effectively catch water from multiple directions. The choice depends on your bathroom layout, aesthetic preferences, and existing plumbing configuration.
Q: Are wet rooms suitable for people with mobility challenges?
A: Wet rooms are excellent for accessibility as they eliminate steps and barriers, providing level access throughout the space. They easily accommodate wheelchairs, mobility aids, and safety features like grab rails and shower seats. The open design also facilitates caregiver assistance when needed. At Aquadapt, we specialise in designing wet rooms that meet specific accessibility requirements.
Q: What maintenance is required?
A: Wet rooms are actually easier to maintain than traditional bathrooms due to their seamless design and fewer areas where dirt can accumulate. Daily wiping and adequate ventilation, weekly cleaning with appropriate products, and monthly drain maintenance keep everything functioning optimally. The reduced number of seals and crevices compared to conventional shower enclosures makes cleaning much more straightforward.
Q: What warranty should I expect?
A: Reputable professional installers typically offer 10+ year installation guarantees, with some providing additional insurance-backed warranties. At Aquadapt, we stand behind our work with comprehensive warranty coverage for both materials and workmanship, giving you complete peace of mind.