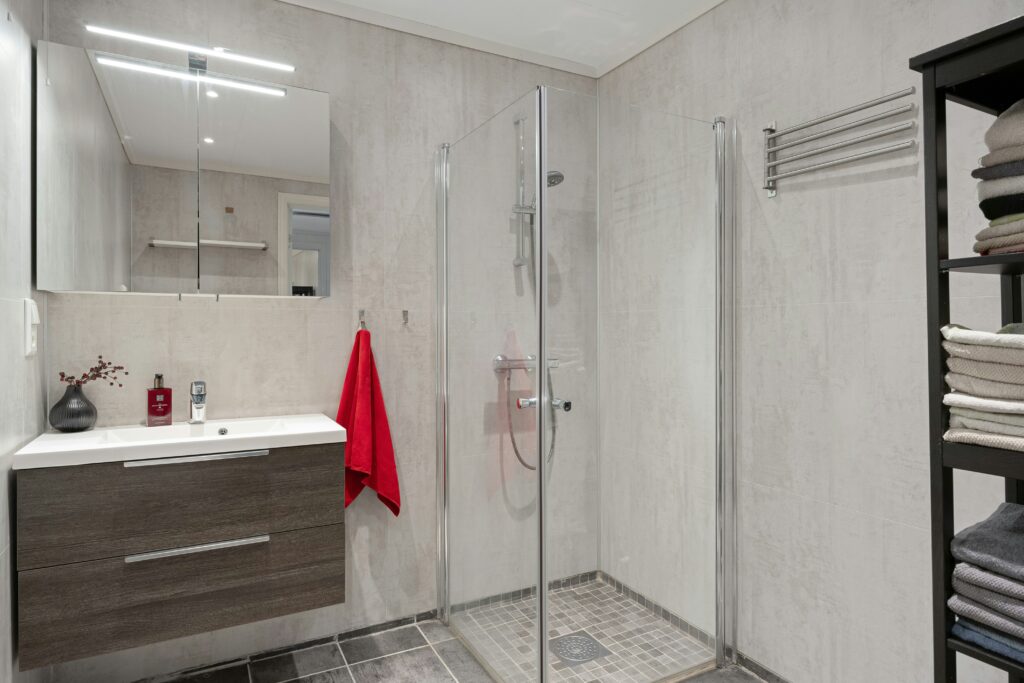
The bathroom is where independence is tested, and too often, where it gets lost.
Around a third of people aged 65 and over fall at least once a year, and that number climbs to roughly half for those aged 80 and above. The bathroom, with its hard surfaces, water, and tight spaces, is one of the most common places where those falls happen.
The good news is that most bathroom accidents and frustrations are preventable. The bad news, however, is that we see the same mistakes repeated time and again, choices that seem sensible at the time but end up costing people their confidence, their safety, and sometimes a second round of expensive renovations.
Whether you are planning a full bathroom adaptation, making smaller safety improvements, or supporting a family member through a change in mobility, this guide will help you sidestep the pitfalls that catch people out.
1. Skipping the Professional Assessment and Going Straight to Products
This is probably the single most common mistake and it usually drives all the others.
It is tempting to browse online, find a walk-in bath or shower seat that looks right, and order it. But without understanding how a person actually moves, transfers, and uses the space, even well-intentioned purchases can miss the mark entirely.
In the UK, your local council can arrange a free home assessment, often carried out by an Occupational Therapist (OT). This assessment looks at how you move, what support you need now, and what you might need in the future. It also opens the door to funding through a Disabled Facilities Grant (DFG), which can cover up to £30,000 in England for essential adaptations.

What to do instead: Start with a needs-led assessment. An OT or trained assessor should drive the decision, not a product brochure. At Aquadapt, we work alongside OTs and healthcare professionals to make sure every adaptation matches the person, not just the room.
2. Choosing a Layout That Ignores How You Actually Move
A bathroom can look beautiful on paper and be completely impractical in real life. We regularly see rooms where the turning space is tight, the toilet is boxed in by furniture, and the shower is a squeeze with a walking frame or a carer alongside.
Mobility adaptations are fundamentally about space, approach, and transfer, not just adding a rail and hoping for the best. For wheelchair users, a minimum 1,500mm diameter clear floor space is needed for turning. Even for people using a walking stick or frame, circulation routes need to be generous enough to move confidently without bumping into fixtures.
What to do instead: Plan the bathroom around the largest thing that needs to fit, often a wheelchair, a walker, or a second person helping. Mark out circulation routes on the floor before committing to any layout. Position the toilet, basin, and shower to allow safe lateral or front transfers, and always consider whether a carer might need to be in the room too.
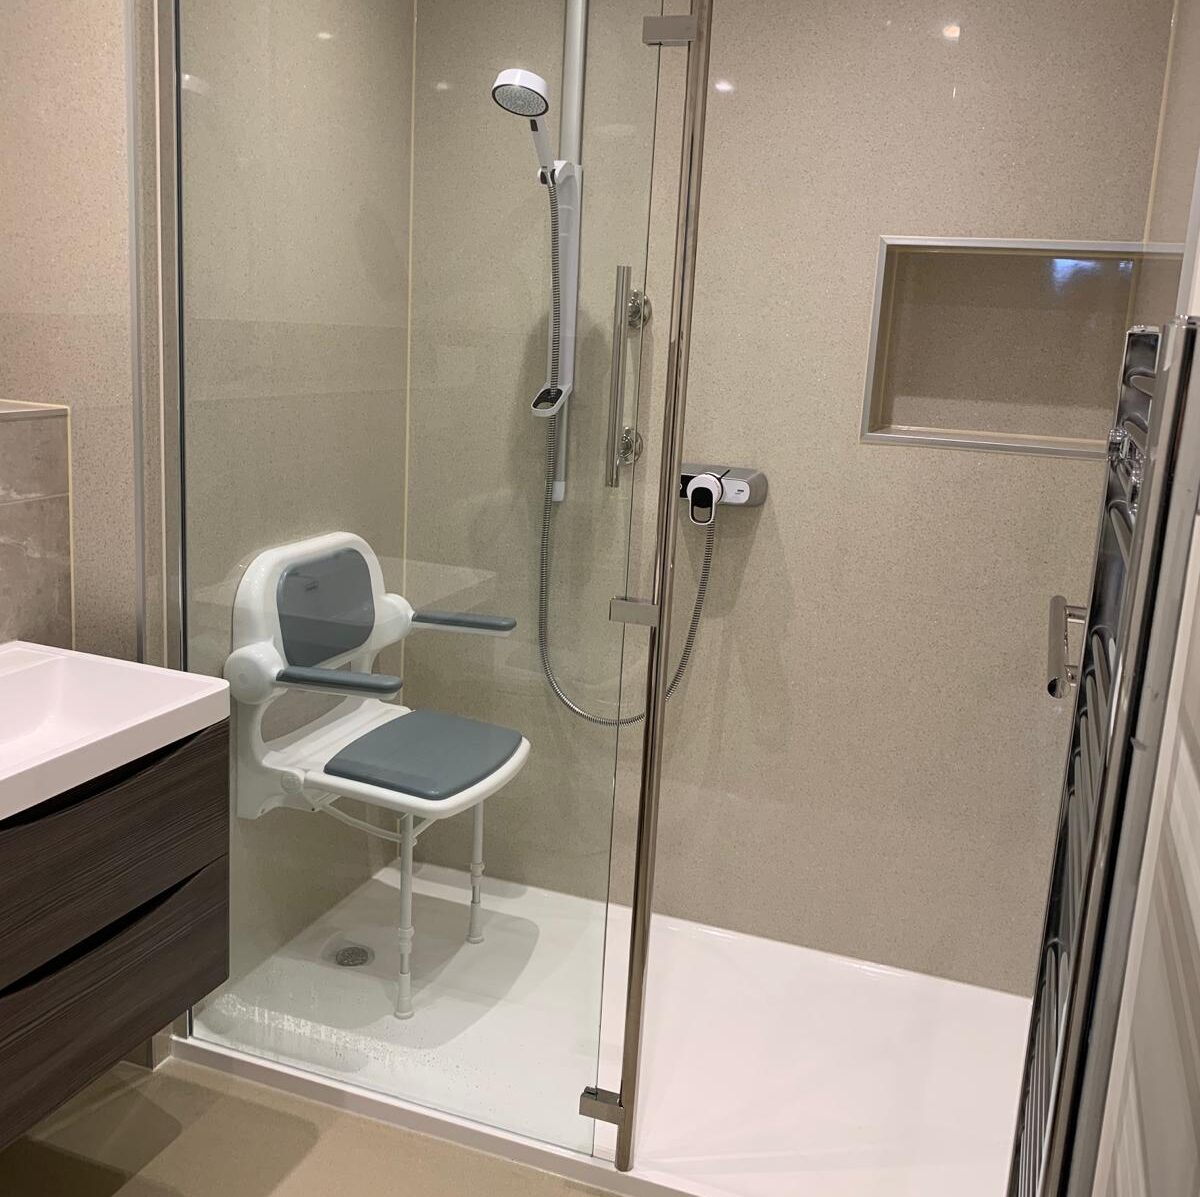
3. Keeping a Step or Lip into the Shower
It seems like a small thing, a low threshold or a tiny, raised edge to “keep the water in.” But those minor changes in level are exactly what catch toes, sticks, and wheels.
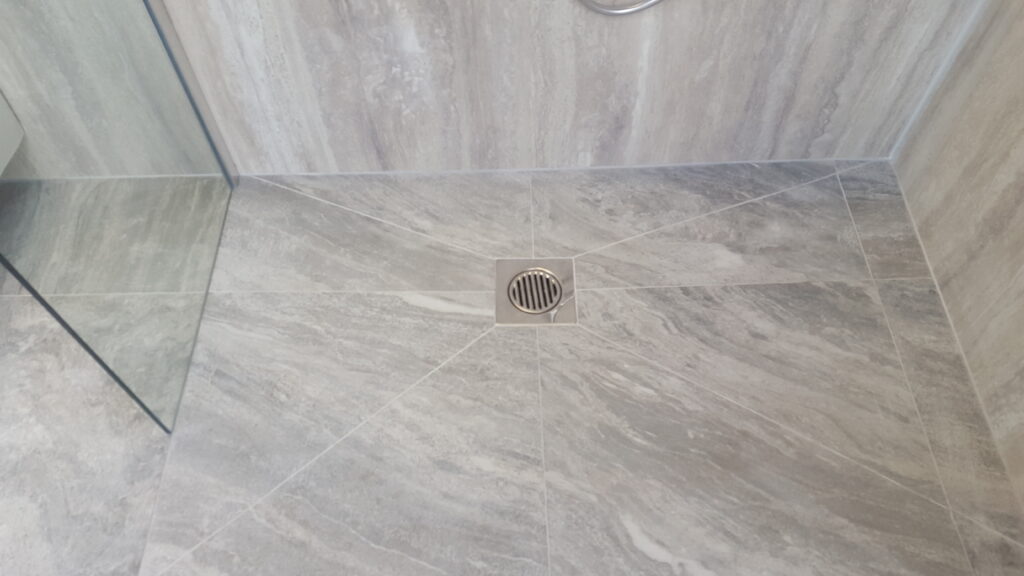
A level-access shower or wet room removes this risk entirely, giving step-free entry that works for everyone from wheelchair users to people who are a little unsteady on their feet. The trade-off is that level-access installations need proper drainage design and waterproofing, but that is an engineering challenge, not a reason to keep a trip hazard.
What to do instead: Go level-access wherever possible. If a wet room is the plan, make sure tanking (waterproof membrane) and correct falls to the drain (typically between 1:40 and 1:80 gradient) are treated as core safety features, not afterthoughts. Always Use accredited installers who understand the specific demands of accessible wet room design.
4. Installing Slippery Flooring
Polished tiles and ultra-smooth vinyl look clean and modern, until they get wet. Then they become one of the most dangerous surfaces in the home.
Slips on wet bathroom floors are a leading cause of injury, and the difference between a safe floor and a hazardous one comes down to slip resistance ratings. In the UK, look for flooring with an appropriate Pendulum Test Value (PTV) of 36 or above for domestic wet areas, or check the R-rating system used for ceramic and porcelain tiles.
What to do instead: Specify anti-slip flooring from the outset. Textured porcelain tiles, non-slip vinyl, and specialist safety tiles all offer good wet grip without sacrificing appearance. Avoid loose bathmats and rugs that can slide underfoot. If you need a mat, choose one with strong suction grip. And pair your flooring choice with practical cleaning routines that do not leave a slippery film behind.
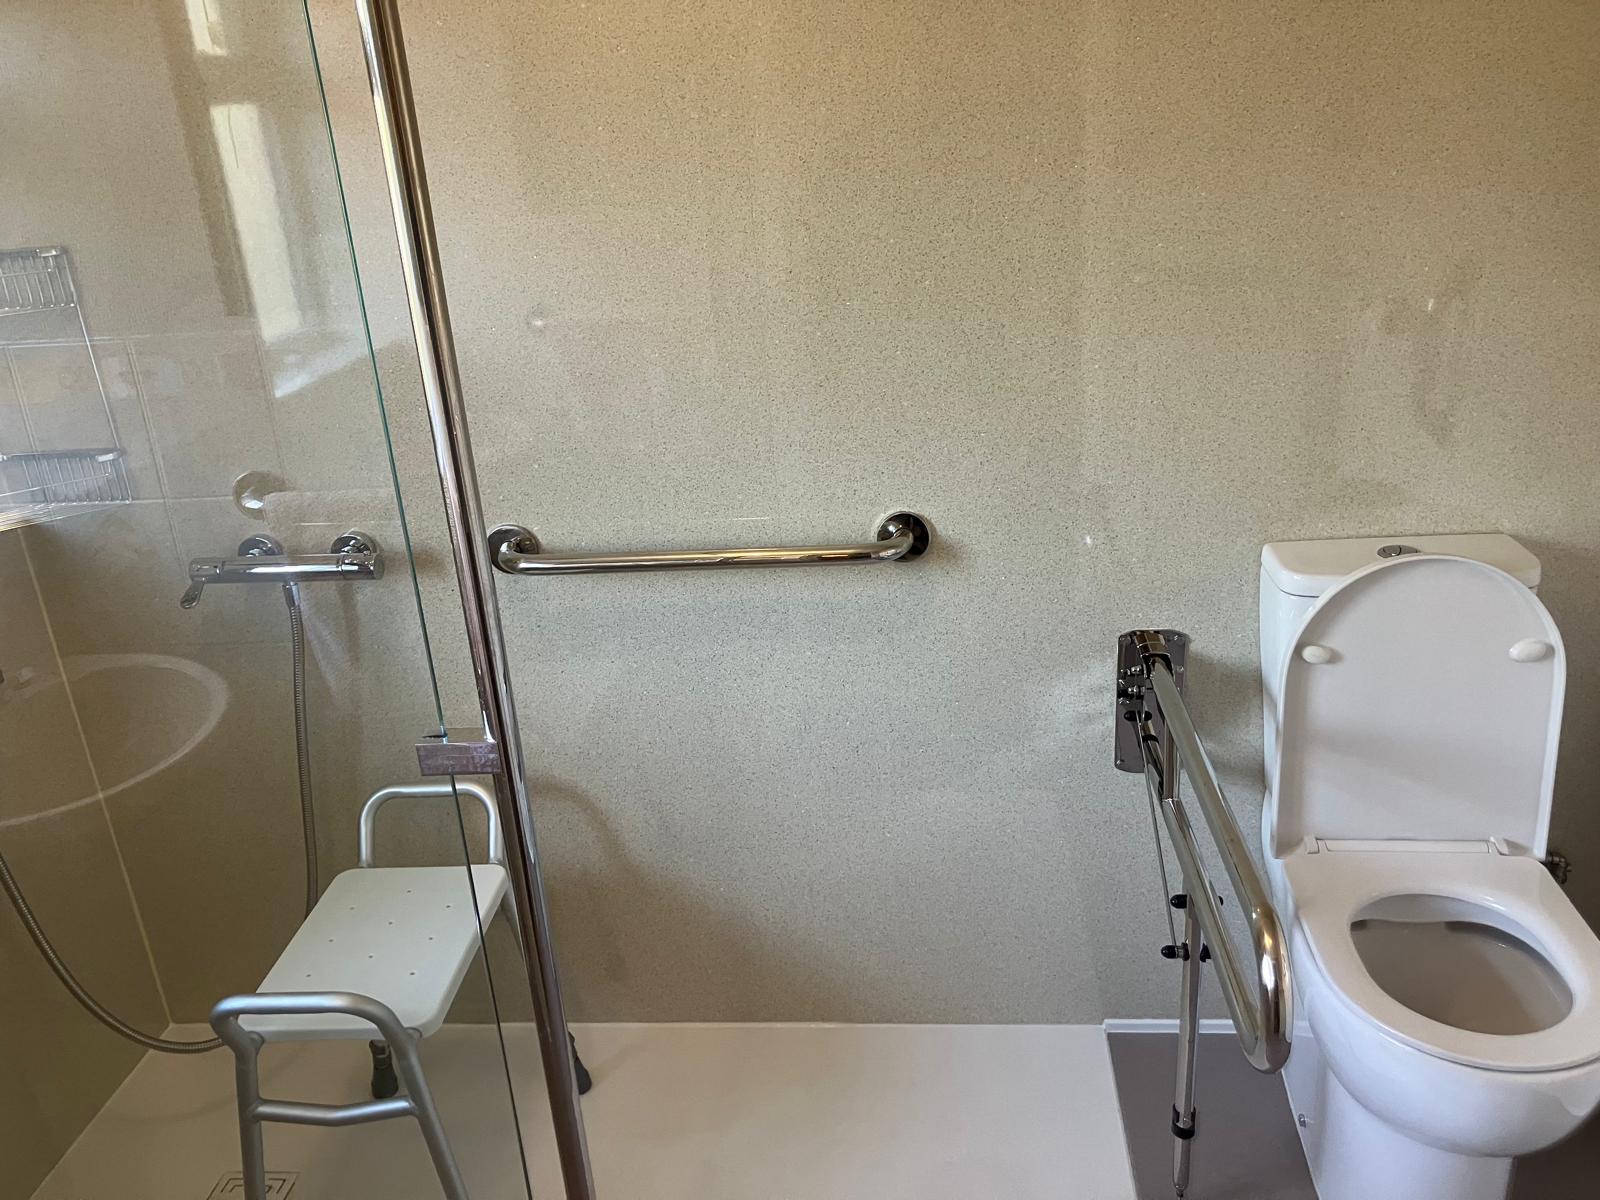
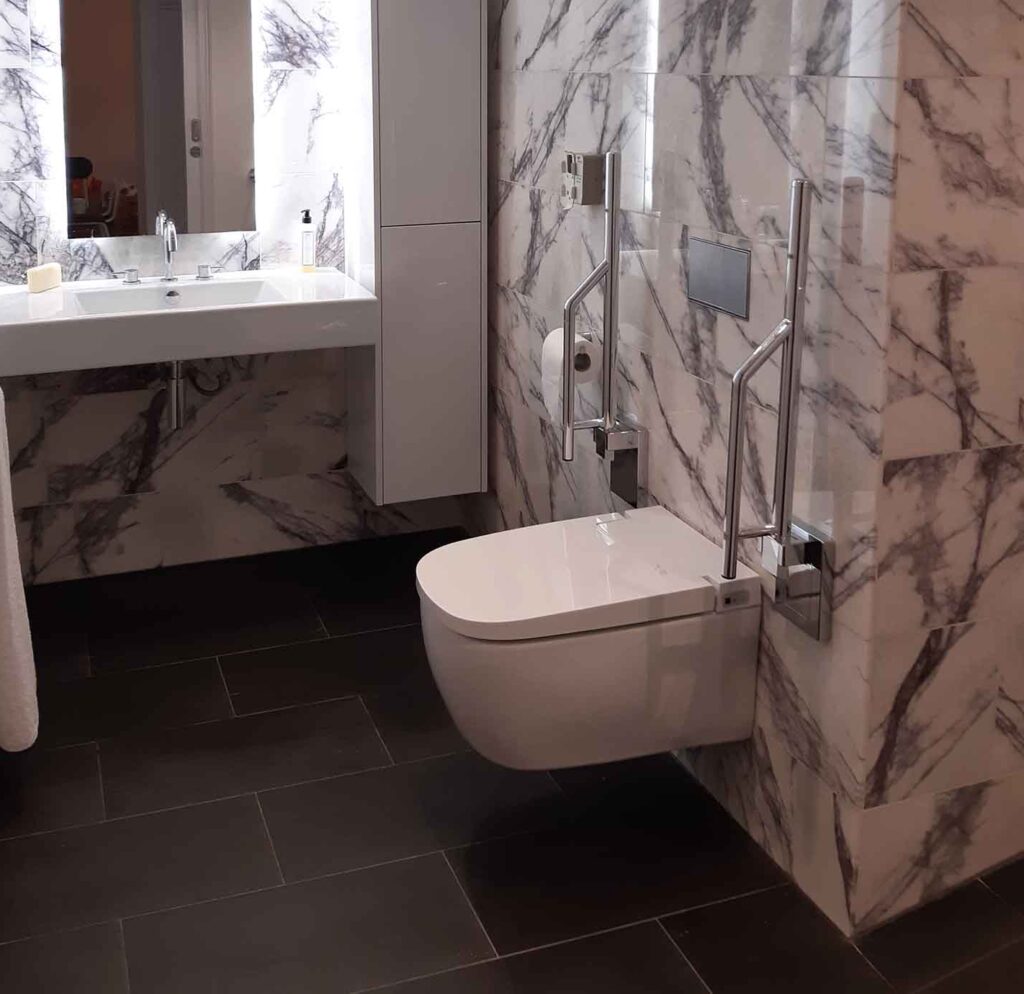
5. Treating Grab Rails as an Afterthought
We see this a lot: grab rails installed where there was a convenient wall stud rather than where the person actually needs support. Or worse, rails fixed into plasterboard without proper anchors, turning a safety feature into a genuine hazard.
A grab rail you cannot trust is worse than no rail at all because it encourages you to make a risky move. Rails need to be load-rated (capable of supporting at least 250kg), securely fixed into studs or solid substrates, and positioned where people transfer; getting on and off the toilet, stepping into the shower, standing from a seated position.
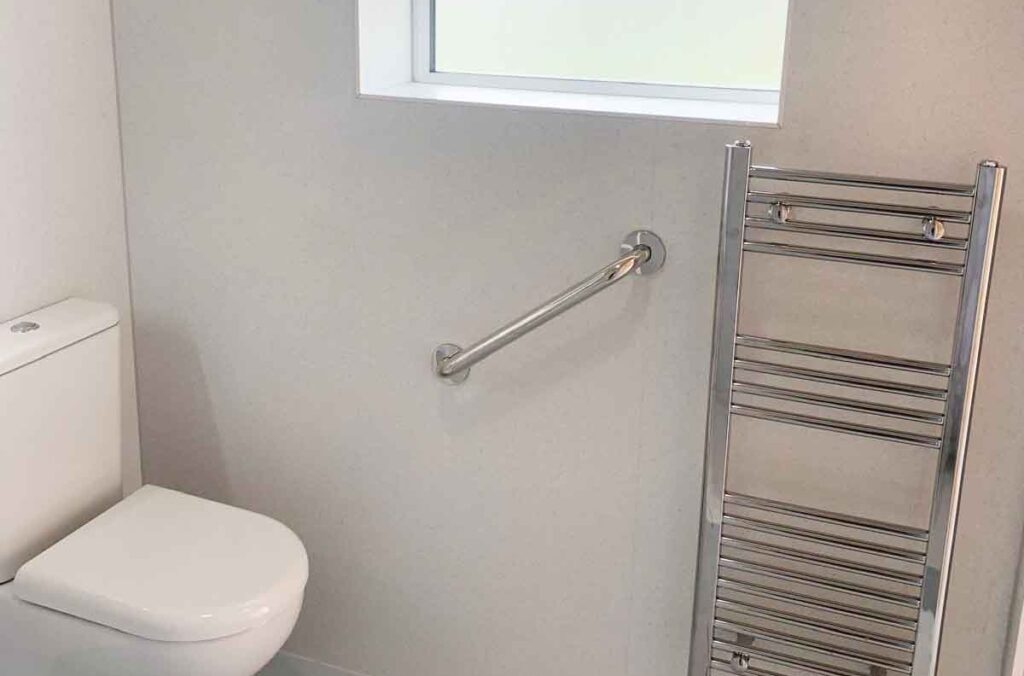
What to do instead: Follow OT guidance on orientation, height, and placement. Horizontal rails help with lateral movement; vertical rails assist with standing. Angled rails can serve both purposes. Use professional fixings, test every rail after installation, and never assume a towel rail can do double duty, it cannot.
6. Ignoring Temperature Control and Scald Risk
Hot water that spikes unpredictably, taps that are hard to turn, and showers that leap from comfortable to scalding in seconds are serious risks, particularly for people with reduced sensation, slower reaction times, or cognitive conditions like dementia.
HSE guidance is clear: where scald risk exists, baths and showers should be fitted with thermostatic mixing valves (TMVs) to keep outlet temperatures at safe, consistent levels. A TMV2 is appropriate for most domestic settings; TMV3 valves meet the stricter requirements used in care environments.
What to do instead: Fit thermostatic controls as standard in any adapted bathroom. Choose lever-style taps or push-button controls that are easy to operate with limited grip strength. If the person using the bathroom has reduced sensation or cognitive changes, treat temperature control as a core safety requirement, not a “nice to have.”
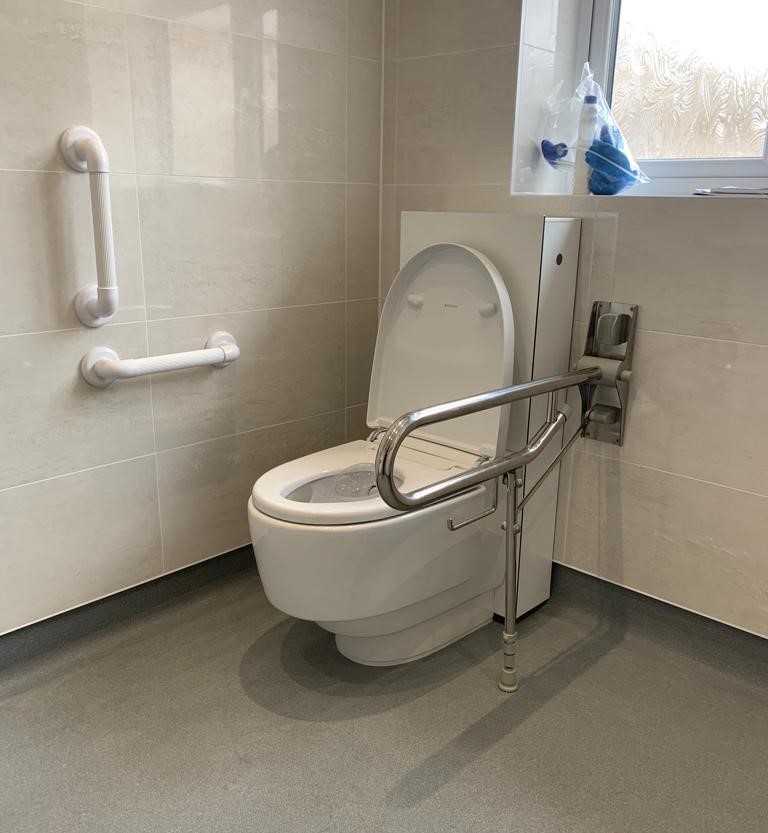
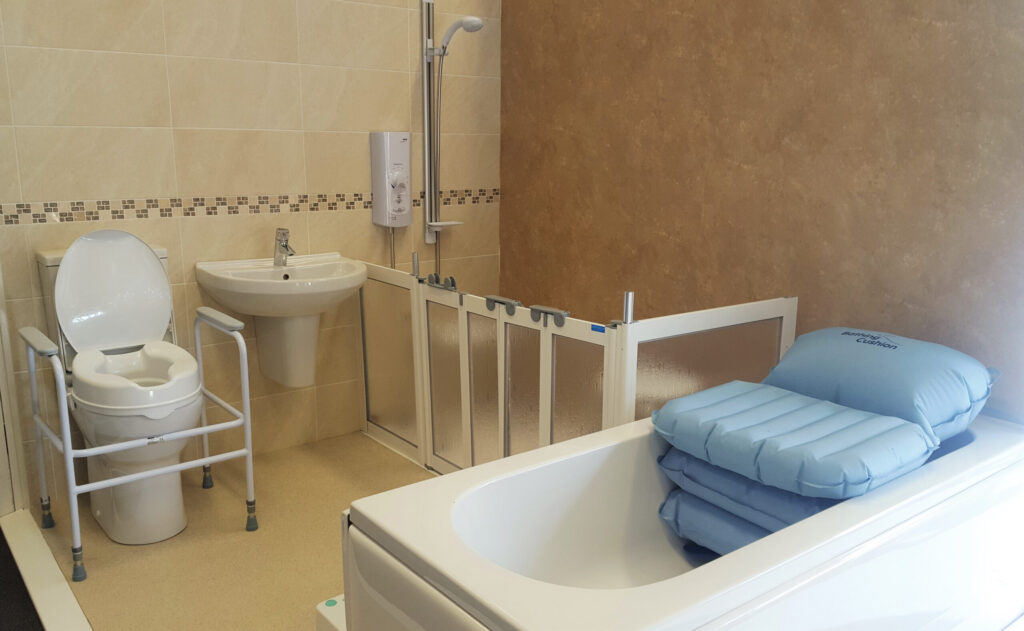
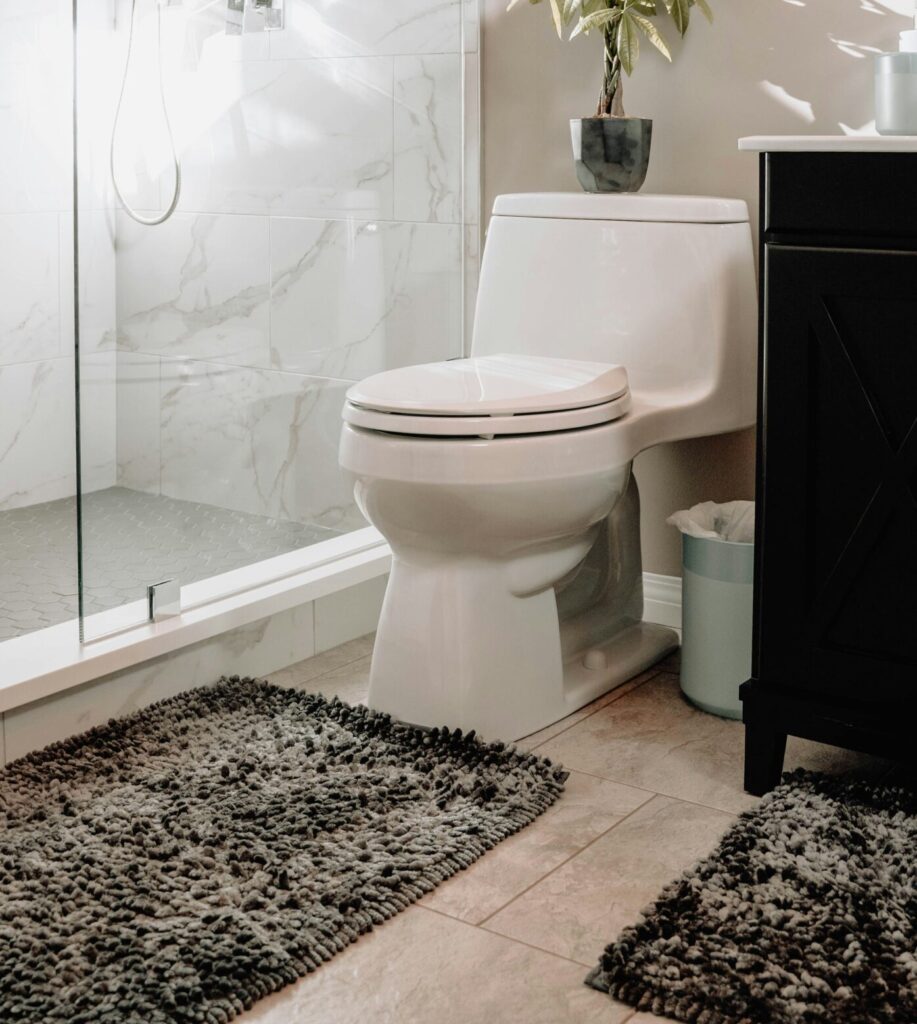
7. Getting the Toilet Height Wrong
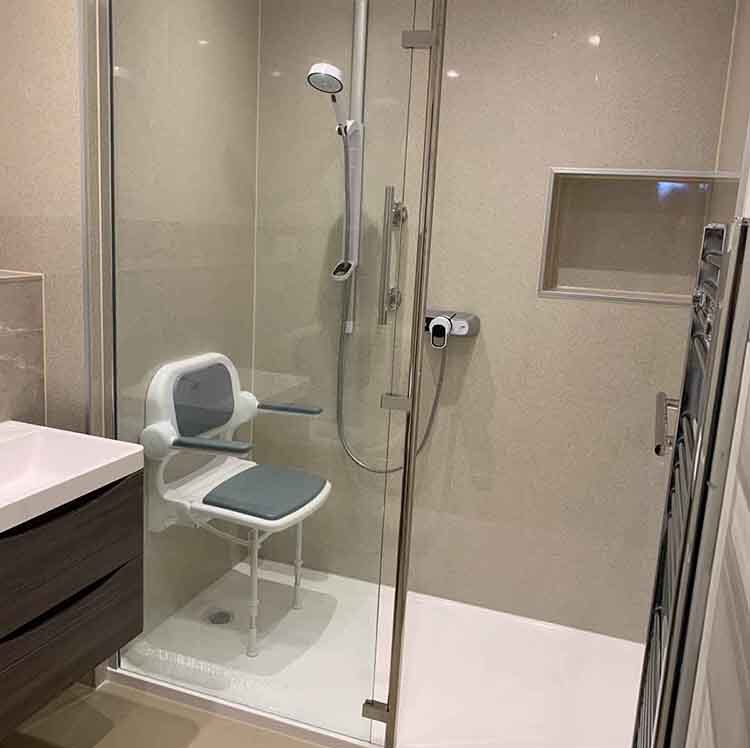
The standard toilet height works fine for most people, until it doesn’t. If you struggle to lower yourself down or push yourself back up, even a few centimetres of difference can transform a daily essential into an exhausting or dangerous task.
A comfort-height toilet (typically 480–500mm seat height compared to the standard 400mm) reduces the effort needed for sit-to-stand transfers. For some users, a height-adjustable toilet or a raised toilet seat fitted to an existing pan may be the better solution, depending on the specific transfer pattern and any carer involvement.
What to do instead: Match the toilet height to the user’s transfer ability, not to convention. Consider whether side-transfer space is needed for wheelchair users, and whether drop-down rails would help with stability. If needs are likely to change, a height-adjustable option gives you flexibility without future rework.
8. Forgetting That Lighting is a Safety Feature
Good lighting in an adapted bathroom is not just about aesthetics; it is about orientation, confidence, and hazard detection. For people with visual impairments, poor colour contrast between fixtures and surfaces makes edges, steps, and controls invisible. And for anyone getting up at night, the journey from bed to bathroom is one of the highest-risk moments in the home.
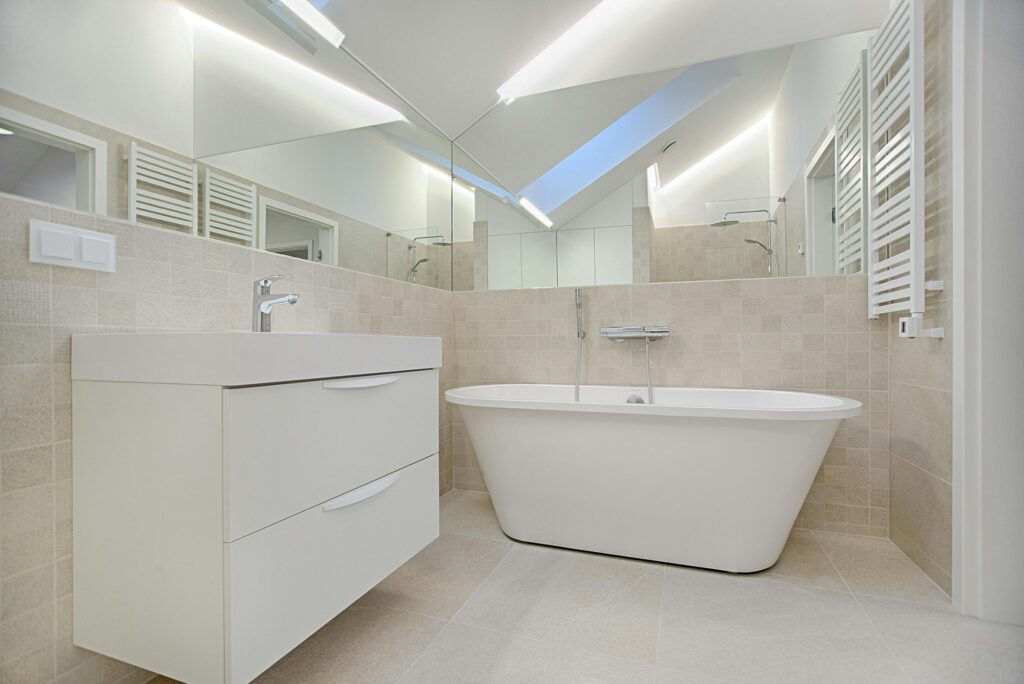
What to do instead: Install even, shadow-free lighting that covers the whole room, particularly around the shower and toilet. Add low-level night guidance lighting along the route from bedroom to bathroom. Use contrasting colours between grab rails and walls, between the toilet seat and the floor, and between tap handles and the basin, these visual cues make a measurable difference to safety and independence.
9. Designing for Today and Forgetting About Tomorrow
This mistake is understandable but costly. You adapt the bathroom for current needs, and then two years later, a progressive condition, a new diagnosis, or simple ageing means the whole room needs rethinking.
Designing only for today is the fastest route to paying twice. A bathroom that works now but has no space for a hoist, no reinforced ceiling for a track system, and no room for a carer to stand alongside may become a problem sooner than many people expect.

What to do instead: Build in future adaptability from the start. Leave space for equipment that might be needed later, ceiling hoists, adjustable shower seats, wider doorways. Use modular solutions where possible, so components can be swapped or upgraded without a full refit. If there is any chance that assisted bathing will be needed down the line, plan the space, access, and structural reinforcement now.
10. Neglecting Ventilation and Condensation Control
High humidity in bathrooms is inevitable, but in wet rooms and level-access showers, where more of the room gets wet, adequate ventilation becomes critical. Mould is not just unpleasant; it aggravates respiratory conditions and makes surfaces slippery. Under UK Building Regulations, bathrooms require mechanical ventilation capable of extracting at least 15 litres per second.
What to do instead: Specify extractor fans properly sized for the room and consider humidity-sensing controls that activate automatically when moisture levels rise. Ensure good general airflow and keep the room easy to dry. Treat ventilation as part of the safety system, right alongside drainage and waterproofing.
Summary
If you’re not ready for a full renovation, start with the three changes that make the biggest difference: non-slip measures for baths, showers, and floors; properly positioned grab rails where you actually transfer; and better lighting, especially at night and around wet areas. These align with NHS falls prevention advice and can improve safety and confidence straight away.
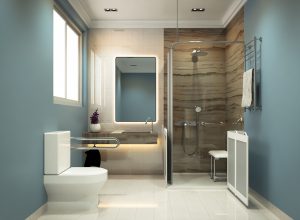
If you are planning a refurbishment, there’s an opportunity to go further with level-access showers, optimised layouts, the right toilet height, thermostatic controls, and space planned for future needs, investments that keep people safe and independent at home for years to come.
Whatever stage you’re at, we’re here to help. At Aquadapt, we work with homeowners, families, occupational therapists, and healthcare professionals to design and install bathroom adaptations tailored to each individual’s needs, and our completed projects prove safe, practical, and built to last.
Frequently Asked Questions
What is the first step when adapting a bathroom for mobility issues?
The best starting point is a professional assessment of your needs, ideally carried out by an occupational therapist. In the UK, you can request a free home assessment through your local council. This ensures any adaptations match how you actually move and transfer, rather than guessing based on product descriptions. It also opens the door to potential funding through a Disabled Facilities Grant.
How much does it cost to adapt a bathroom for accessibility?
Costs vary widely depending on the scope of work. Smaller changes like grab rails, non-slip flooring, and improved lighting can be done for a few hundred pounds. A full wet room or level-access shower installation typically ranges from several thousand pounds upward, depending on the room, the drainage requirements, and the fixtures chosen. In England, a Disabled Facilities Grant can provide up to £30,000 toward essential adaptations, and many bathroom adaptations for disabled people are eligible for VAT relief at zero per cent.
What is the difference between a wet room and a walk-in shower?
A wet room has the entire floor waterproofed (tanked) and sloped toward a drain, with no tray or threshold at all, the shower is simply part of the room. A walk-in shower typically has a low-level tray and may have a small lip or threshold at the entry point. Wet rooms offer the best level-access solution for wheelchair users and those who need full step-free entry. Walk-in showers suit people who can manage a very low step and prefer a more contained showering area.
Where should grab rails be positioned in an accessible bathroom?
Grab rails should be placed where you actually transfer weight, getting on and off the toilet, entering and exiting the shower, and standing from a seated position. Horizontal rails support lateral movement, vertical rails help with standing, and angled rails can serve both purposes. The exact positions should ideally be guided by an occupational therapist based on your specific movement patterns. All rails must be load-rated and fixed securely into studs or solid substrates.
How do I make a bathroom safer for someone with dementia?
Focus on simplicity, contrast, and control. Use contrasting colours between key fixtures, toilet seat, grab rails, taps, floor edges, to aid orientation. Install thermostatic mixing valves to prevent scalding. Choose lever taps or push-button controls that are intuitive to use. Add night guidance lighting between the bedroom and bathroom. Remove unnecessary clutter and keep everyday items visible and within easy reach. A calm, well-lit, uncluttered bathroom reduces confusion and supports continued independence.