


A disabled wetroom should make daily life easier, yet we regularly meet clients who’ve had a wetroom fitted and are still struggling with it. Cramped shower areas, a slippery floors and grab rails in the wrong place can be small planning mistakes, but they can make a huge difference to someone’s safety, dignity and independence.
As accessible bathroom specialists, we’ve seen (and fixed) all of these issues. In this guide, we’ll run through the seven mistakes we see most often, and exactly how to avoid them when you’re planning your own wetroom.
Jump straight to…
1. Not leaving enough space to move around
This is by far the most common issue we come across. A wetroom might look accessible on paper, but if there isn’t enough clear floor space for a wheelchair to turn, or for a carer to stand alongside the user, it doesn’t really work in practice.
UK Building Regulations (Approved Document M) recommend a wheelchair-accessible wetroom is at least 2450mm x 2450mm, giving enough circulation space to manoeuvre and transfer safely. But the “right” size really depends on the individual – someone who’s fairly mobile and washes independently needs a very different layout to someone who needs two carers to assist them.
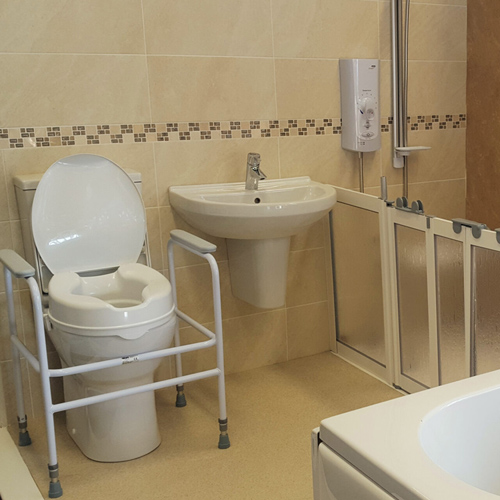
How to avoid it: Don’t just go by a generic minimum size. Think about wheelchair turning circles, carer access on both sides of the toilet, and how needs might change over time. Our guide on what’s the minimum size for a disabled wetroom breaks this down in more detail, and our free home survey can help you work out what will actually fit and function well in your space — even smaller or awkwardly-shaped bathrooms.
2. Choosing the wrong flooring
Flooring gets overlooked far too often, and it’s one of the most important safety decisions in the whole room. Carpet and other porous materials trap moisture and encourage damp. Smooth, glossy tiles can look lovely in a showroom but turn treacherous the moment they’re wet.
Falls are the leading cause of injury-related hospital admissions among older adults in England, so getting this right isn’t a minor detail, it’s a safety essential.
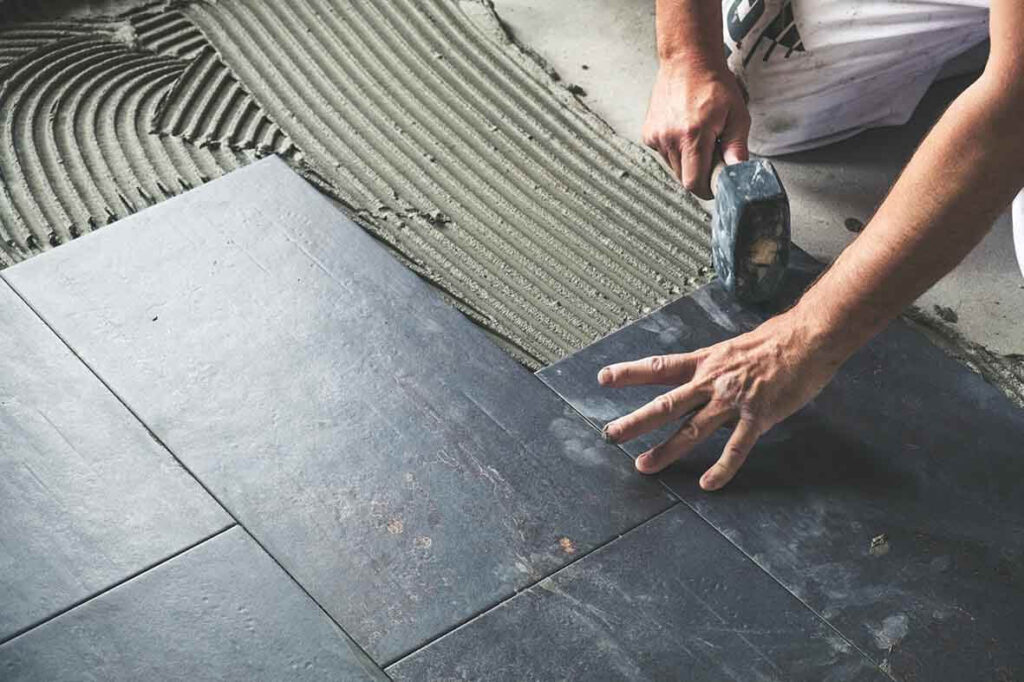
How to avoid it: Stick to fully waterproof, slip-resistant flooring rated at least R10 on the DIN 51130 scale (R11 for areas with heavier water exposure). Tiles and vinyl are both good options, each with their own pros and cons — we cover this in full in our guide to the best wetroom flooring for wheelchair users.
3. Poor drainage and water pooling
A wetroom relies on a gentle, consistent fall in the floor to carry water away to the drain. If this isn’t installed correctly, water pools in the middle of the room or around the shower area, creating a slip hazard and, over time, damage to the floor structure below.
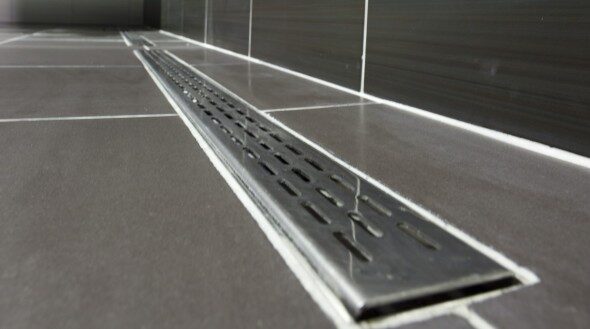
This is one of the most common problems we see with DIY or wetroom installations — it’s easy to get wrong and expensive to fix once tiling or flooring is down.
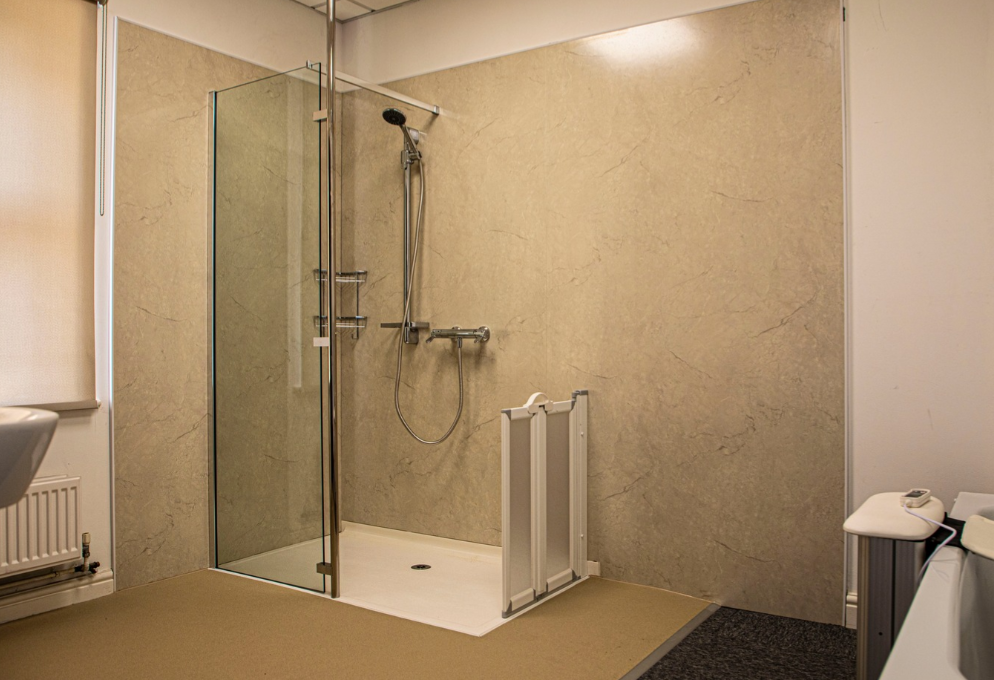
How to avoid it: Make sure the shower tray or wetroom former is sized and sloped correctly for the space, and that it’s fitted by an experienced installer who understands wetroom waterproofing (known as “tanking”). Our guide on choosing the right level-access shower tray for your wet room explains what to look for.
4. Grab rails and fittings in the wrong places
Grab rails are only useful if they’re exactly where the user needs them. We often see rails fitted in generic positions, because that’s where the wall stud happened to be, or because it matched a standard installation guide, rather than around the individual’s own movements.
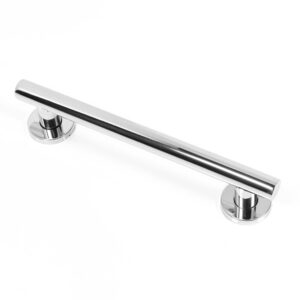
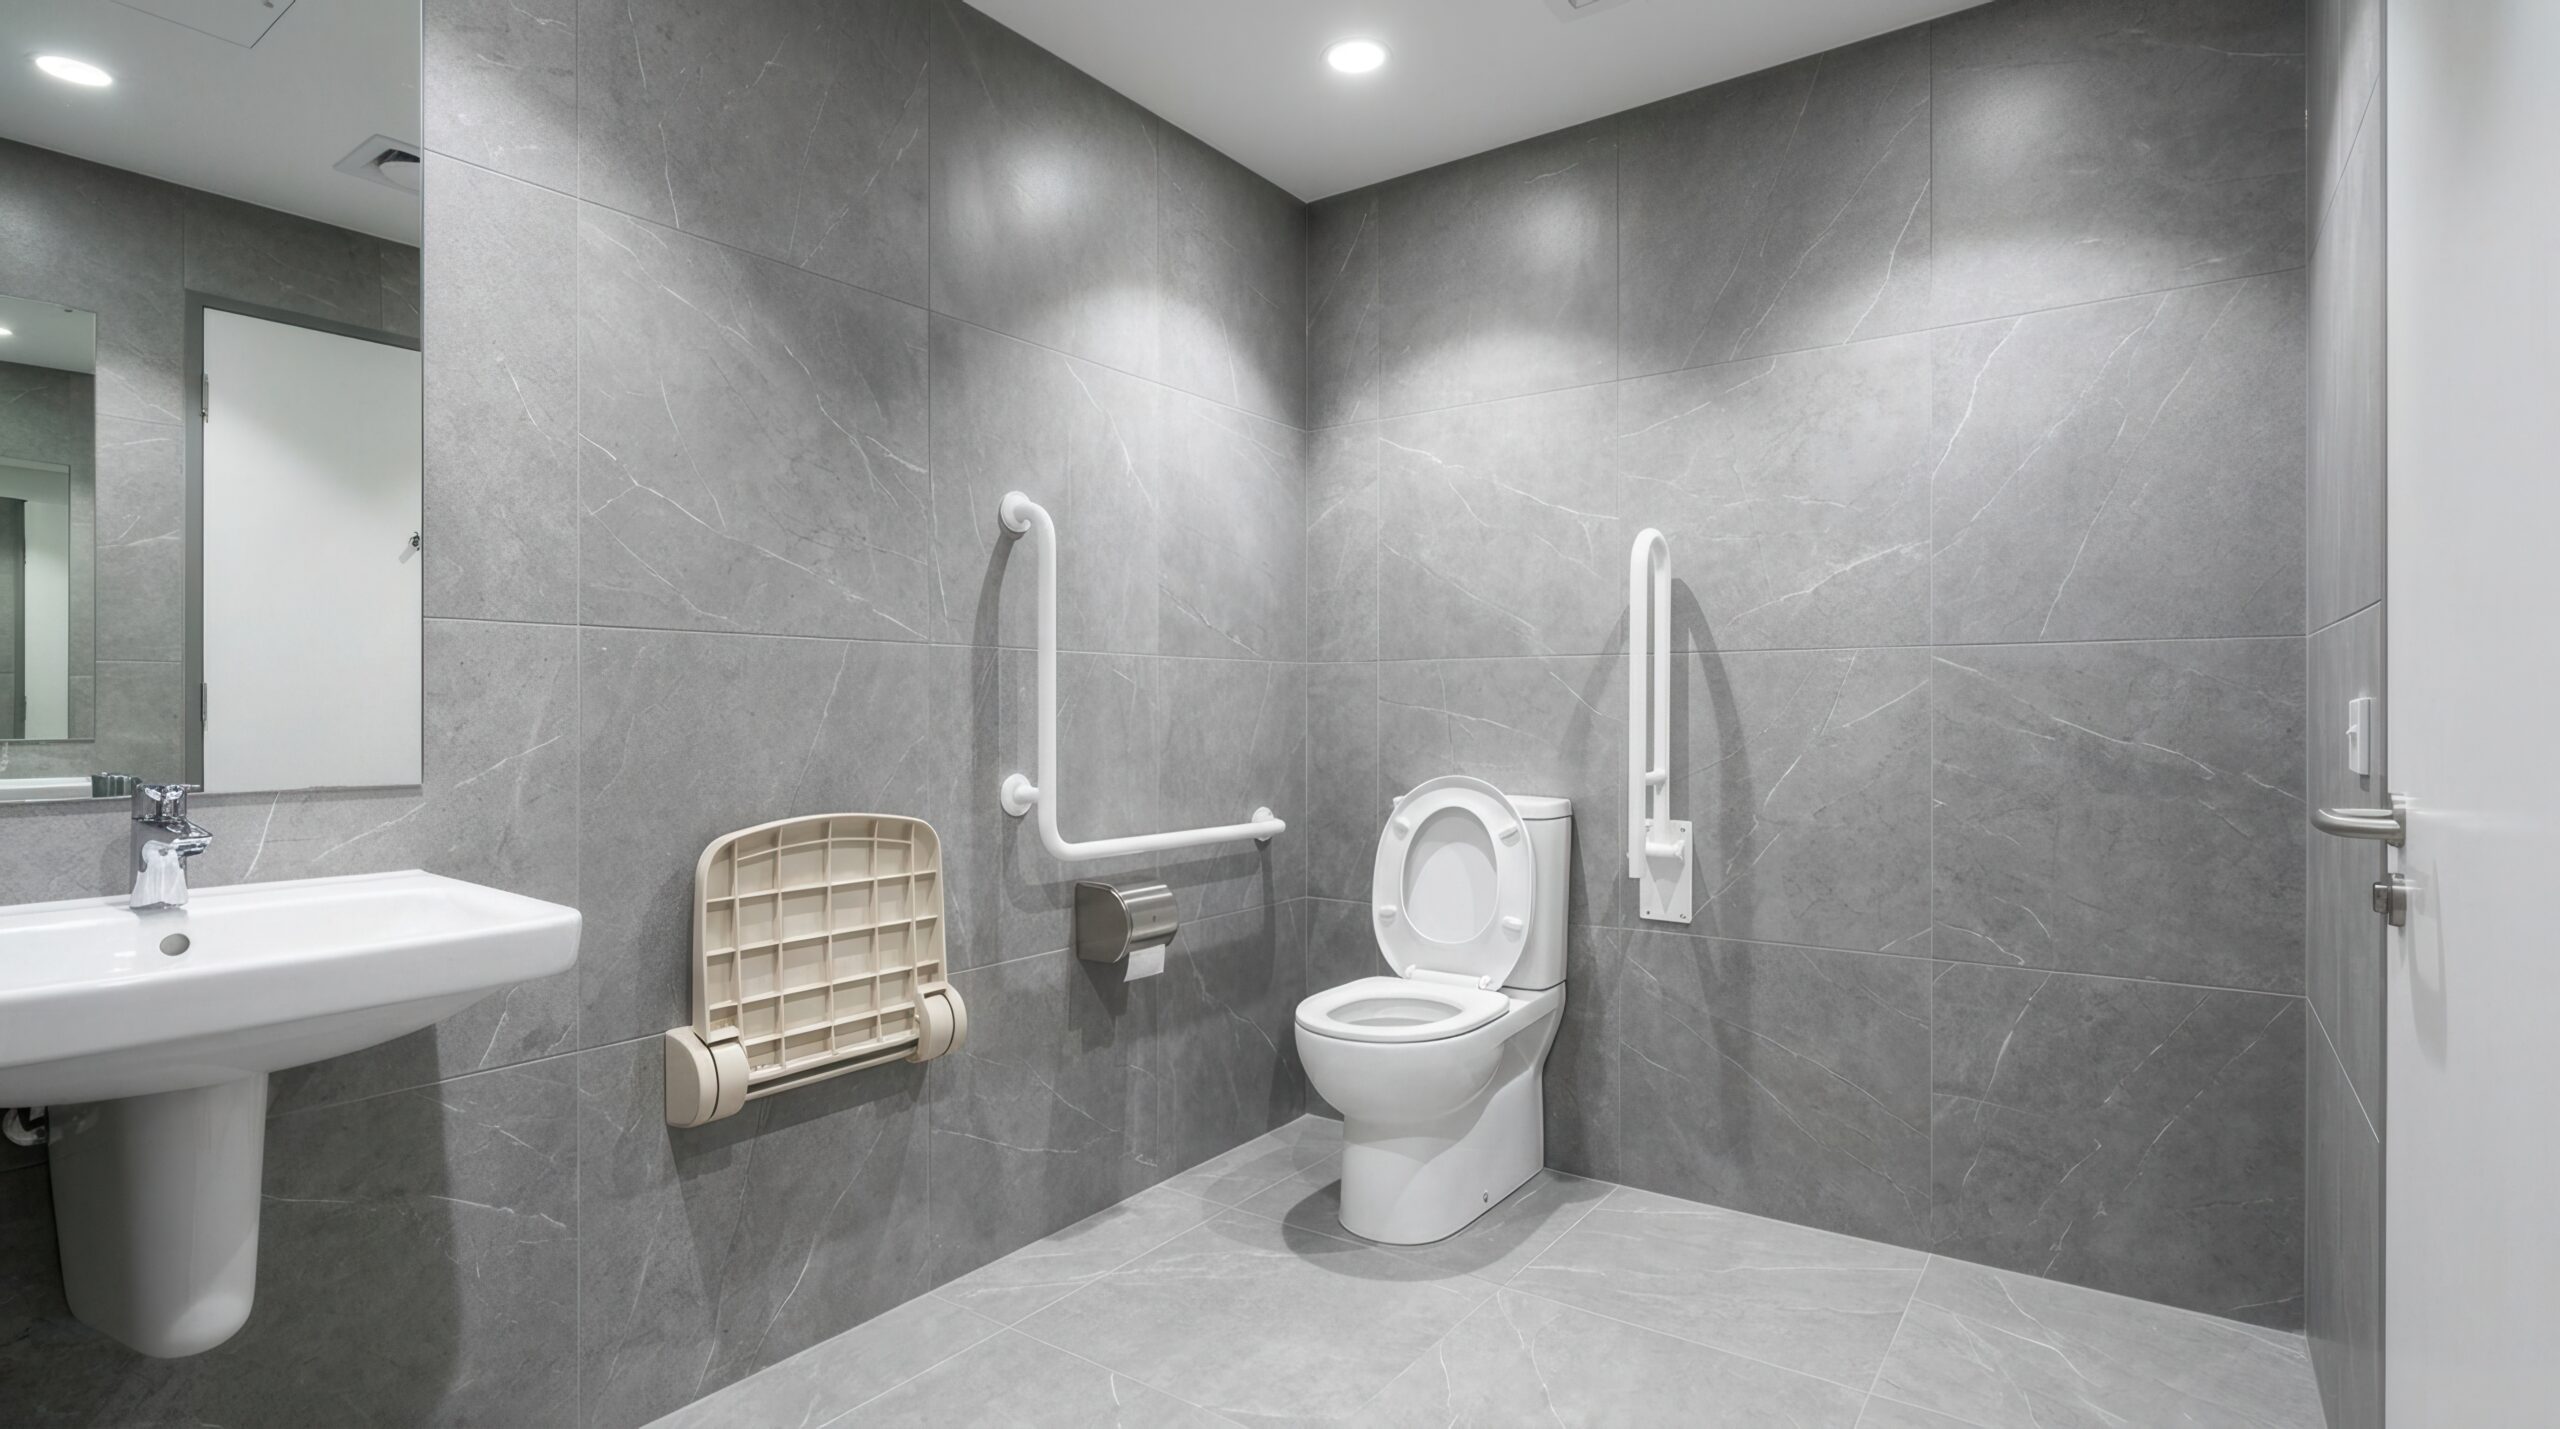
How to avoid it: Grab rails should be positioned around how the person actually transfers, sits and stands, not a one-size-fits-all template. It’s also worth reinforcing walls during installation so rails, fold-down seats or a future hoist can be added later without taking the room apart again. This kind of forward planning is something our advisors always factor in during a home visit — see what to expect at your home survey for more on how that process works.
5. Inadequate lighting
Lighting is easy to underestimate, but poor visibility in a wetroom increases the risk of trips and falls, and makes it harder to judge water on the floor, read taps and controls, and feel confident in the space. Shadowy corners and glare from shiny tiles can be just as much of a problem as rooms that are too dim.
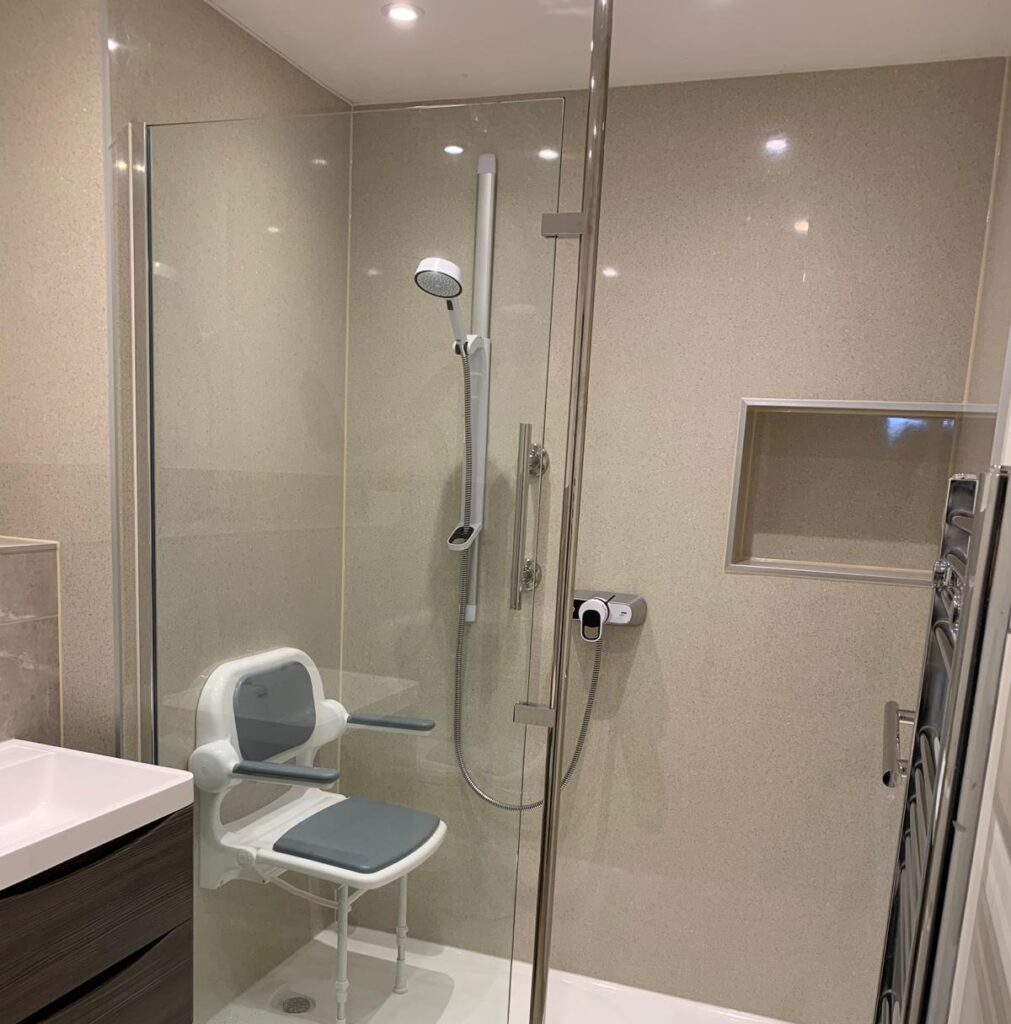
How to avoid it: Aim for bright, even, glare-free lighting, ideally with additional task lighting near the mirror, toilet and shower controls. Some clients also benefit from sensor-activated lighting so there’s never a need to fumble for a switch with wet hands.
6. Poor ventilation, leading to damp and mould
Wetrooms handle a lot of moisture, and without proper ventilation that moisture has nowhere to go. Over time, this leads to damp patches, mould around silicone joints, and can even aggravate respiratory conditions.
How to avoid it: A wetroom needs a properly specified extractor fan (ideally on a timer or humidity sensor), good seals around the wetroom tanking, and, wherever possible, a source of natural ventilation. This is worth discussing at the design stage, not as an afterthought once the room is finished.
7. A clinical, uninviting design
Stark white fittings, exposed grab rails and clinical-looking finishes can make people feel self-conscious about having an accessible bathroom at all.
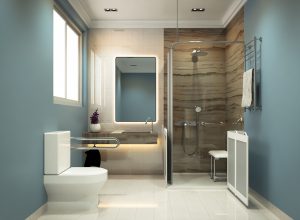
The truth is, accessible design has moved on enormously. As we explored in our piece on 2026 UK bathroom accessibility trends, accessibility and mainstream bathroom design have converged, you genuinely don’t have to choose between safety and style.
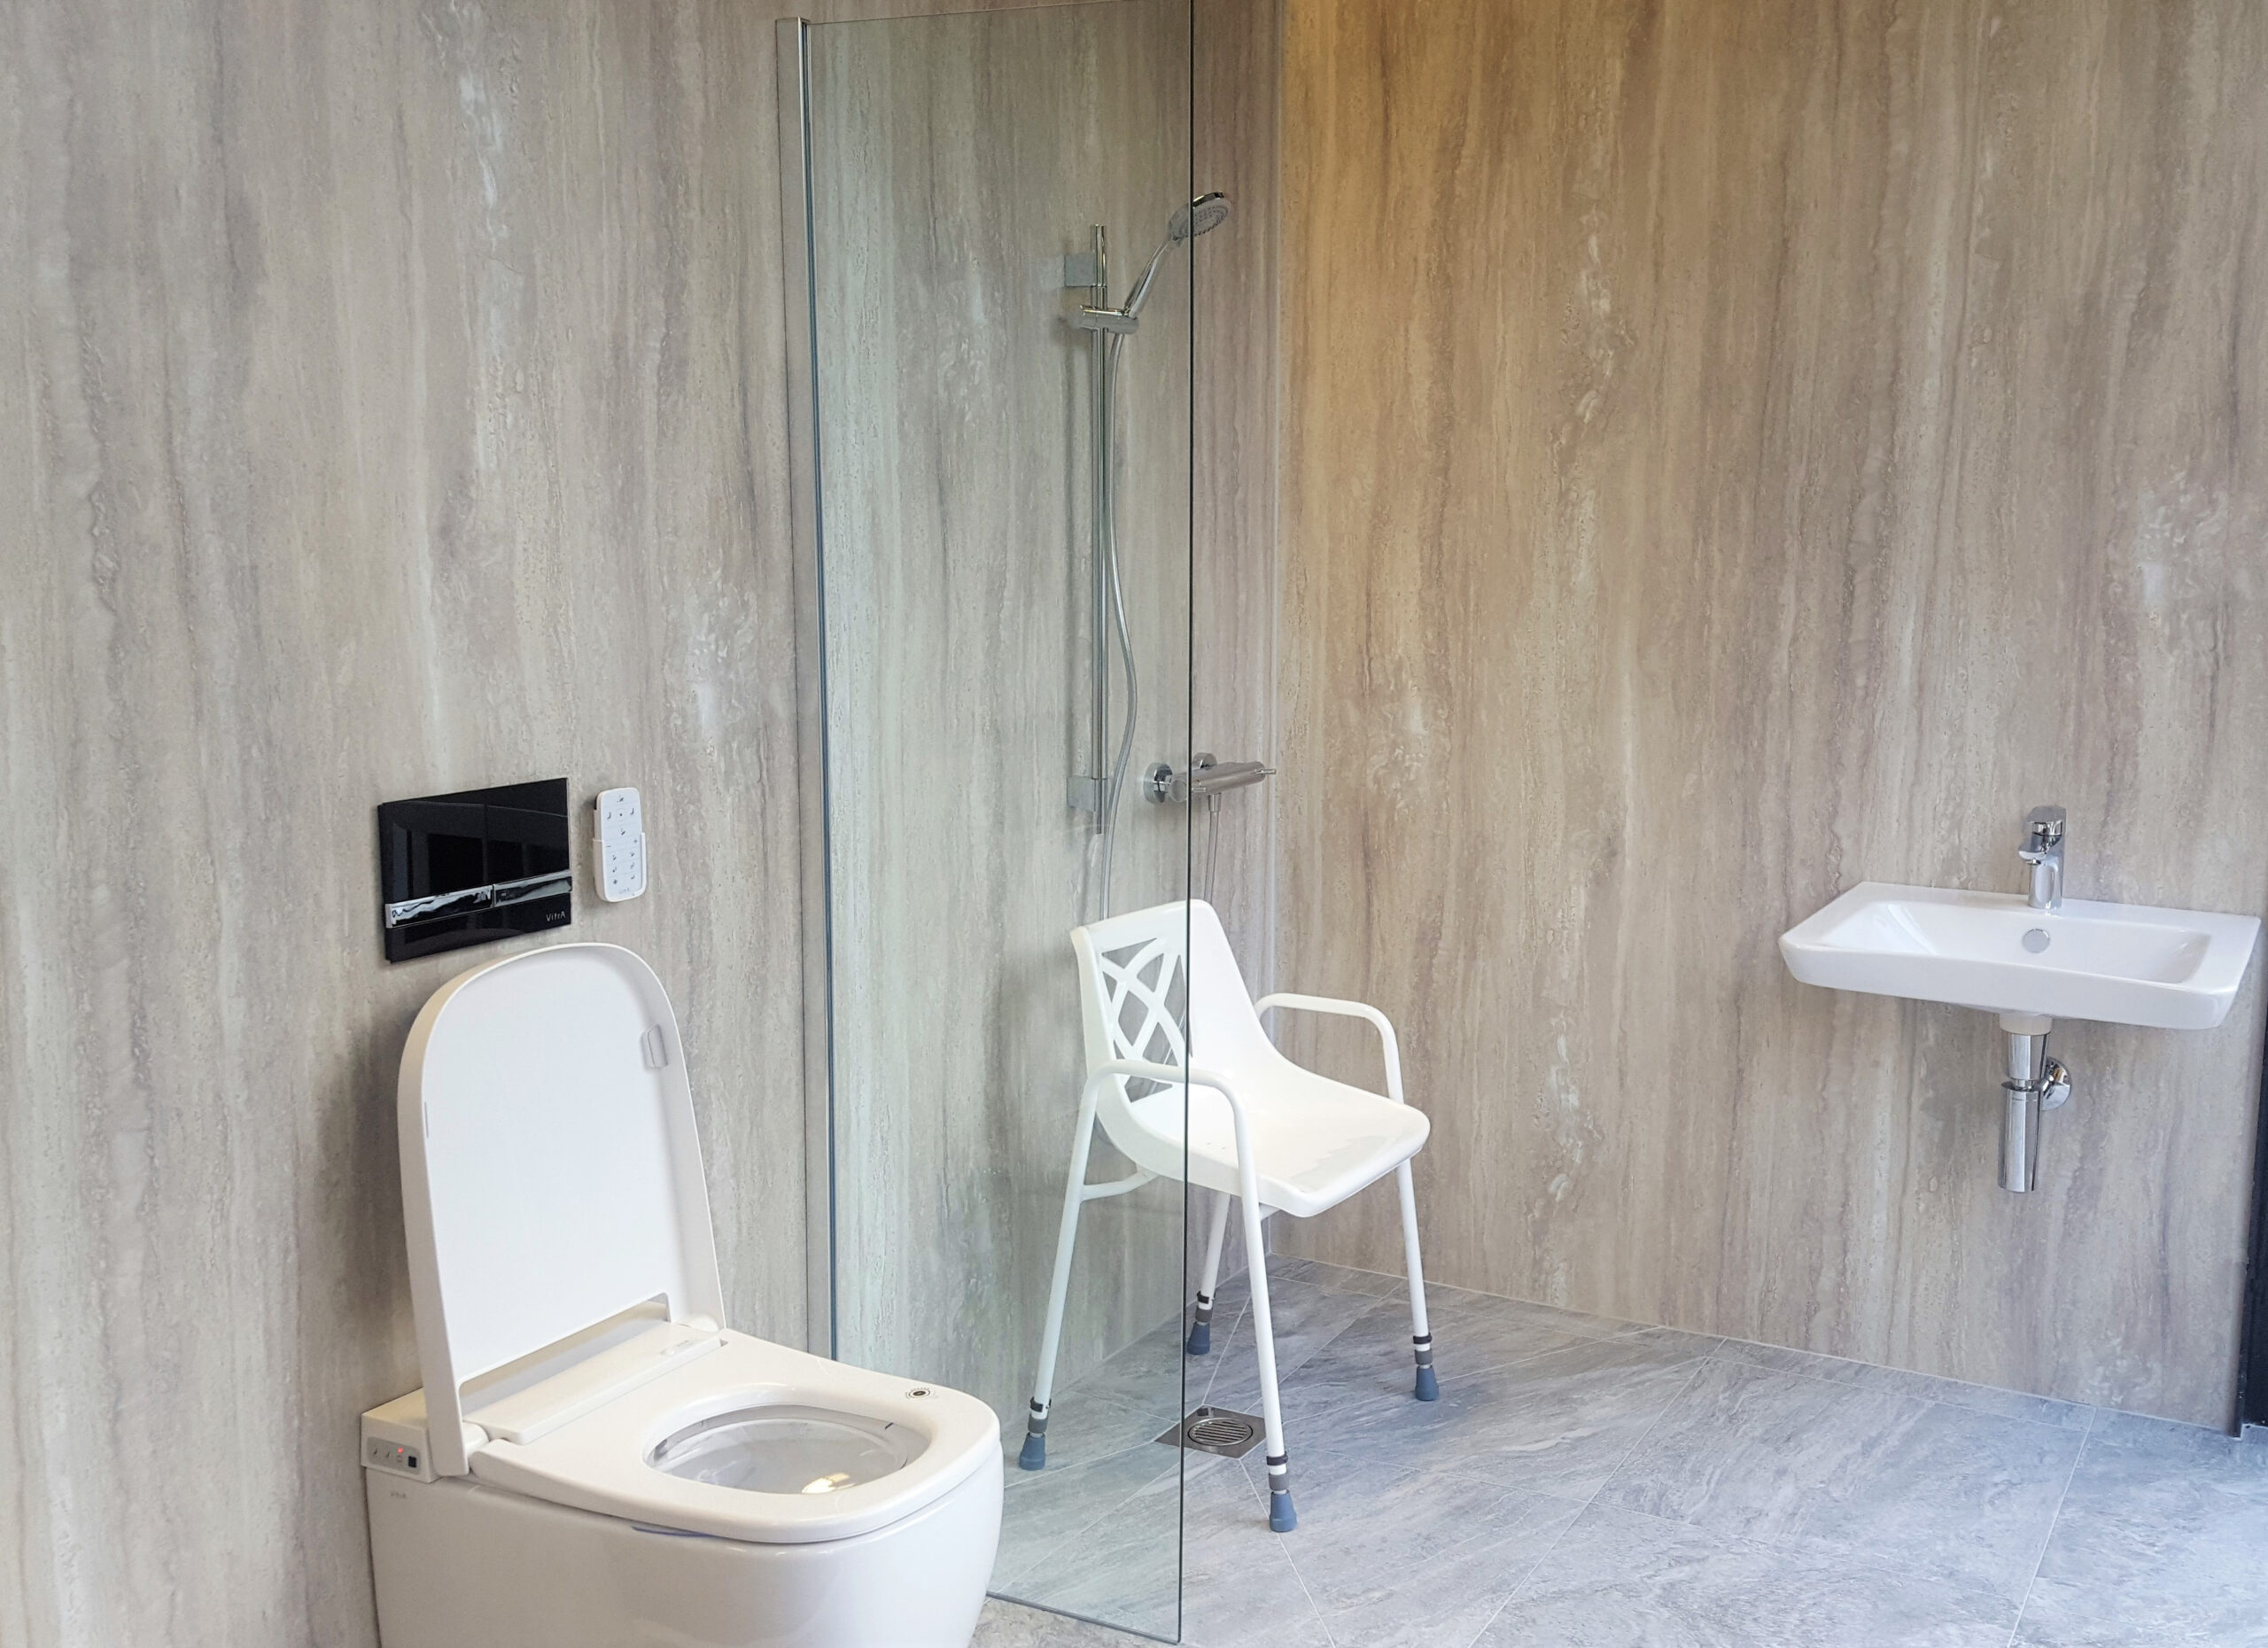
How to avoid it: Work with a specialist who designs around your taste as well as your needs. Discreet grab rails, warm colour palettes, wood-effect flooring and stylish accessible toilets, like the Geberit wash-dry toilet, are all ways to make a wetroom feel like a bathroom you’d choose, not one you settle for. Our guide on design tips for a stylish yet fully accessible bathroom has plenty more ideas.
Conclusion
None of these problems are inevitable, they’re the result of a wetroom being planned around a generic checklist rather than the person who’ll actually use it every day. Getting the space, flooring, drainage, fittings, lighting, ventilation and design right from the outset means fewer compromises, fewer costly fixes down the line, and a bathroom that genuinely supports someone’s independence.
If you’re planning a new wetroom, or you’re living with one that isn’t quite working for you, our accessible bathroom consultants can visit your home and talk through your specific circumstances, completely free and without obligation.
Book a site survey to get started!
FAQs
Can an existing wetroom be fixed if it has some of these problems, or does it need to be replaced entirely?
It depends on the issue. Problems like poor lighting, missing grab rails or incorrectly positioned fittings can often be resolved without major work. Structural issues like poor drainage falls or failed waterproofing usually mean the tray and flooring need to be replaced to fix the root cause properly.
How much does a disabled wetroom typically cost in the UK?
Costs vary widely depending on room size, fittings and the extent of any structural work needed. Many clients are also eligible for support through the Disabled Facilities Grant (DFG), which in England has a statutory maximum of £30,000. Contact your local authority or speak to our team to discuss what might apply to your situation.
Do I need an occupational therapist’s assessment before getting a wetroom installed?
Not necessarily for privately funded projects, though it can be genuinely helpful — especially where needs may change over time. If you’re applying for a Disabled Facilities Grant, an OT assessment is usually required as part of the application process.
How long does it take to install a disabled wetroom?
A straightforward wetroom conversion typically takes one to two weeks, though this can vary depending on the scope of work, such as whether walls need reinforcing or plumbing needs to be rerouted. Our team will give you a clear timeframe as part of your home survey.
What’s the difference between a wetroom and a level-access shower?
A straightforward wetroom conversion typically takes one to two weeks, though this can vary depending on the scope of work, such as whether walls need reinforcing or plumbing needs to be rerouted. Our team will give you a clear timeframe as part of your home survey.
Can a wetroom be installed in a small bathroom?
Yes — with the right design, even compact or awkwardly shaped bathrooms can be adapted effectively. It’s always best to get a professional assessment rather than assuming a space is “too small,” as experienced installers can often achieve more than you’d expect.